Overview
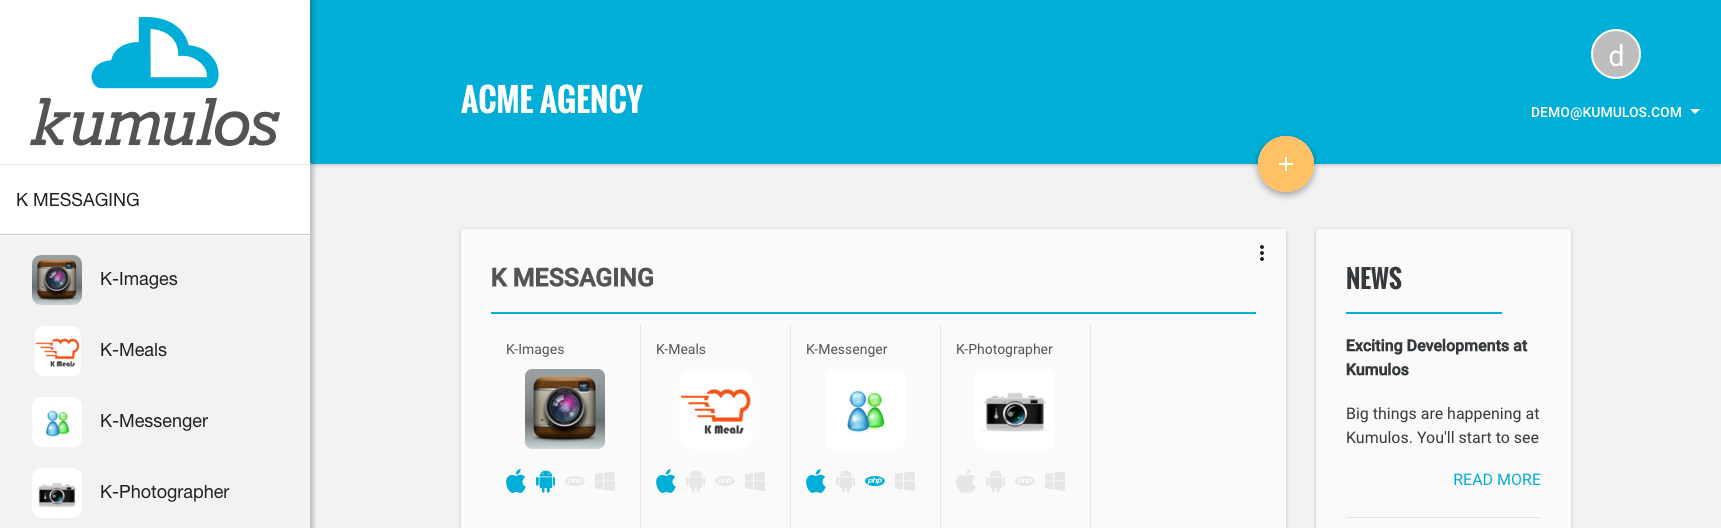
The Kumulos agency console offers an easy way to group your app development projects by the client you are building the app for. This helps to keep the console organized and allows you to give clients access to their own client portal where they can view the analytics and reports for their apps. You can also share files and links with them. If you have applied your branding to your console, then their client portal will also contain your logo and colors.
Managing Clients
Adding a Client
To add a new client to the console, click the logo to go to your agency console and click the primary action button.
Fill in the name of the client and and click "Create".
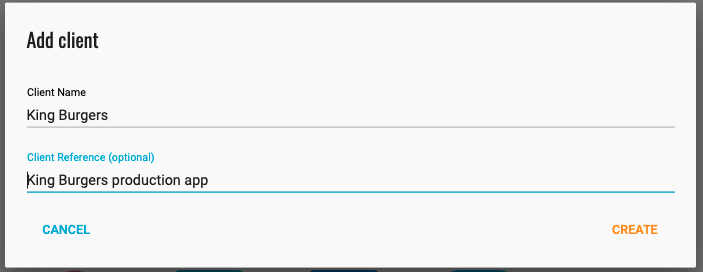
The Client reference field is an optional field that will allow you to easily identify the app in API responses. You will now be redirected to the client dashboard.
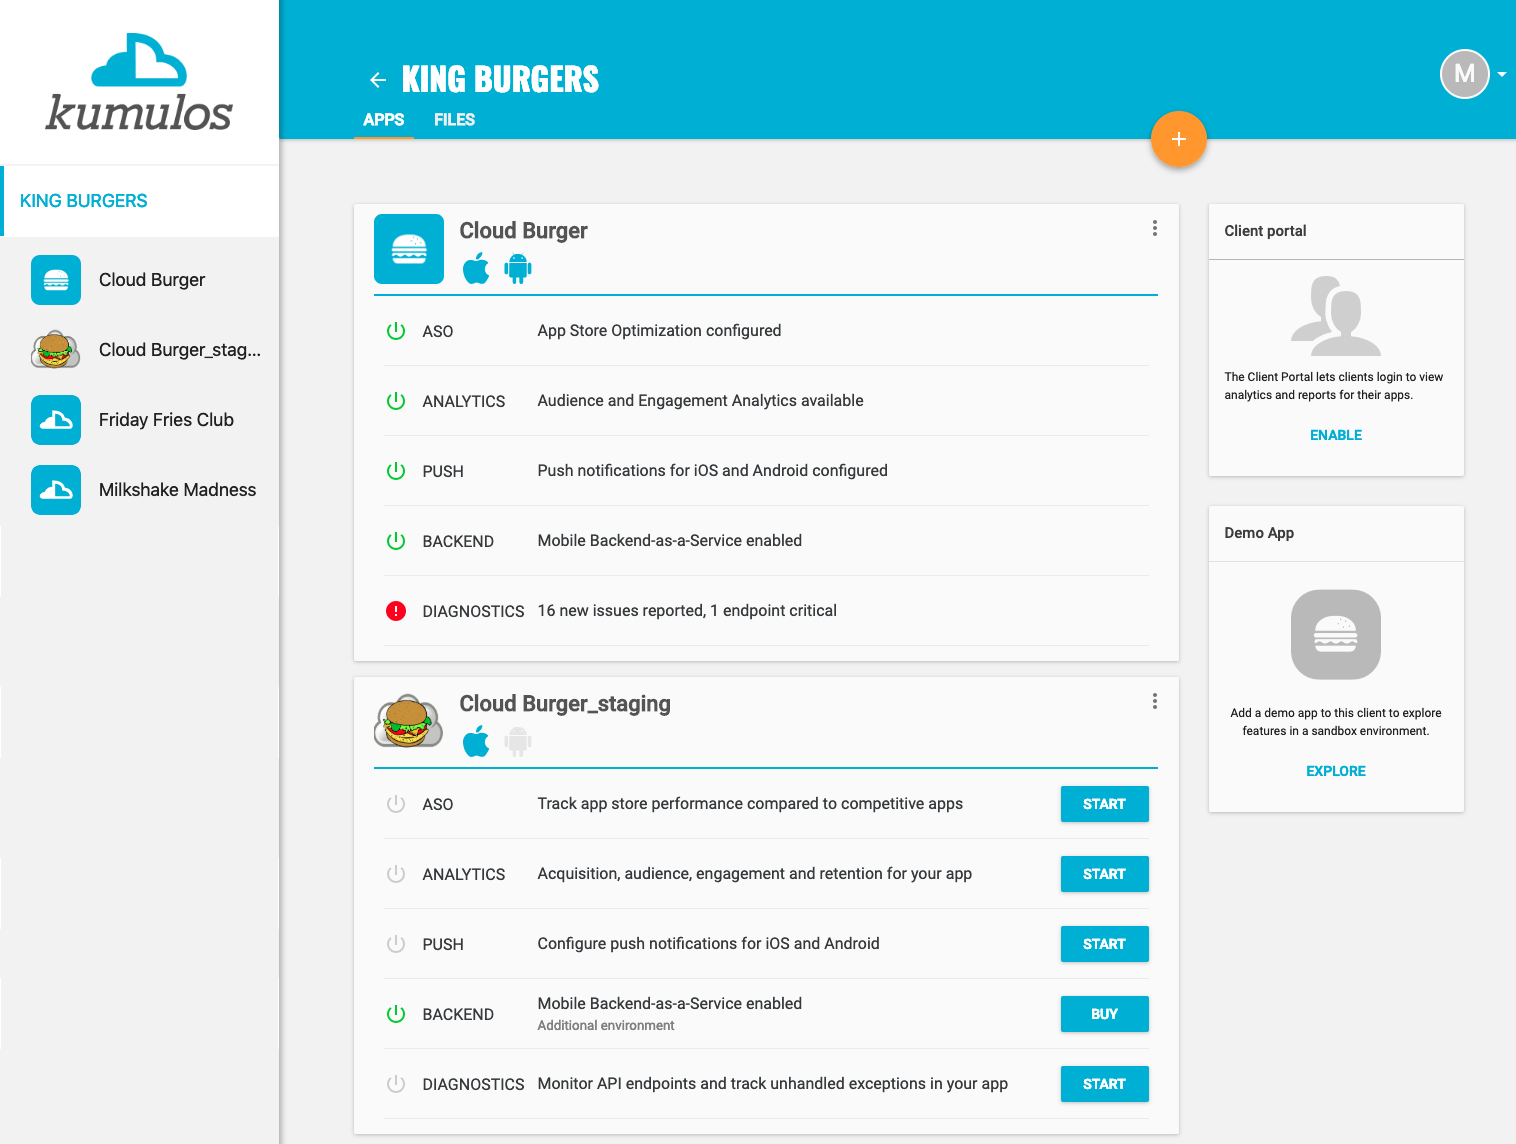
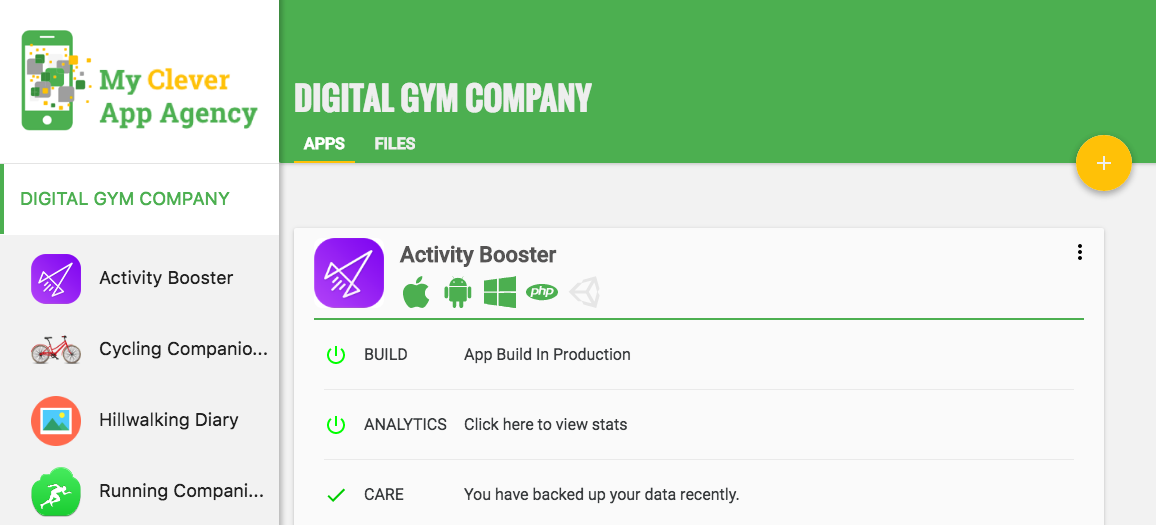
The Client Dashboard
This screen shows all apps belonging to a client, with summary information about each service that is enabled for each app. From here, you can enable The Client Portal and add a demo app for the client.
Editing a Client
From the home screen, use the context action on the client card you wish to edit to select "Edit".

Make any edits as you wish, and click "Save" to be returned to the home screen.
Deleting a Client
To delete a client, first ensure that it owns no apps. To do this you can either delete all apps from the client, or move the apps to another client.
Then, from the home screen, use the client card context menu to select "Delete".

You will be prompted to confirm the deletion.

After deletion, the client will be removed from your console. Any users who you invited to view the client will still be able to log in to the client portal, but will no longer see any data.
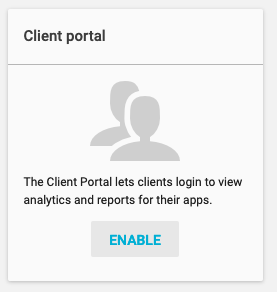
The Client Portal
The Client Portal lets clients login to view analytics and reports for their apps.
Enabling the Client Portal
You can enable the Client Portal for any client from the Client Dashboard.
Click "Enable" under the Client Portal. You will be asked to confirm that you wish to begin a trial.
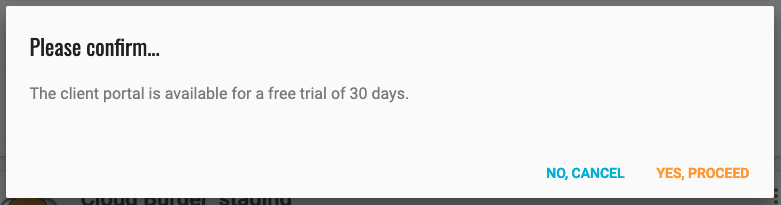
Click "Yes, proceed" when prompted. You can now invite users to see their apps in their client portal.
Inviting Users to their Client Portal
In "Account Settings", select "Users" from the sidebar menu. To invite a user to their client portal click the action button at the top of the screen, this will display the Invite User form. Enter their email address, select "Client" as the role and then select the client from the drop-down list.
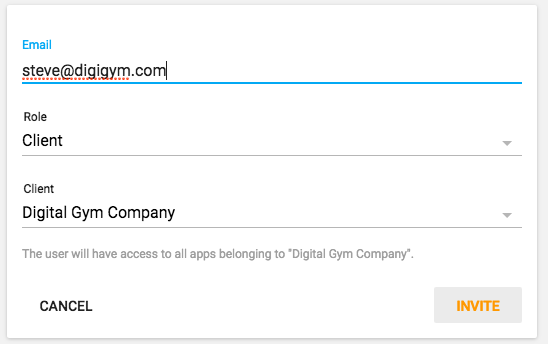
Only those clients for which the client portal has been enabled will be listed, but you can enable the client portal for an existing client by Editing that client
Branding the Client Portal
If you have applied your branding to your console, then when clients can use your sub-domain to login to their portal and will see your logo and color theme. There will be no reference to Kumulos anywhere in their client portal.
You can apply your branding to your console and client portals from Account Settings.
Allow clients to login from your agency website
To prevent your clients having to remember the URL of their client portal, you can add a form to your agency website so that they can login to their client portal from there. Using a script tag, include the minified login helper Javascript functions.
<script src="https://kumulos.com/app-delivery/client-portal-login.min.js"></script>
Assuming the login form captures the email address and password in variables, email and password respectively, you can then login and redirect your client to their portal as follows.
Kumulos.AppDelivery.loginAndRedirect(email, password)
    .catch(function (error) {
        // Something went wrong
    });
We strongly recommend that your login form captures email and password over HTTPS only.
Alternatively, you can handle the login and redirect separately (for example to open the client portal in another tab or window) as follows:
Kumulos.AppDelivery.login(email, password)
    .then(function (url) {
        // Handle redirect to URL
    })
    .catch(function (error) {
        // Something went wrong
    });