Integration
Kumulos provides an extension for the Shoutem mobile app development platform to ease the integration of the Kumulos Analytics and Push Notification features into your Shoutem apps. To integrate Kumulos into your Shoutem apps, you need to:
- Create your app in Kumulos
- Create your app in Shoutem
- Add the Kumulos Extension to your Shoutem app
- Configure the Kumulos Extension in your Shoutem app with your Kumulos credentials
- If you wish to use Analytics, you need to enable this feature in Kumulos.
- If you wish to use Push Notifications, then you also need to:
- Enable Push Notifications in Kumulos
- Configure Apple Push Notification Service (APNS) and Firebase Cloud Messaging (FCM)
- Enter your APNS and FCM credentials into both Kumulos and Shoutem
- To trigger automated notifications when users are in proximity of Beacons, you will also need to:
- Enter your Beaconstac credentials in Shoutem
- Add physical beacon identifiers to Kumulos
This guide provides a detailed overview of configuring the extension and instructions for testing on a real device. You will need an account with Shoutem to do this.
Create your app in Kumulos
First, you need to create a new client and app in Kumulos. To add a new client to the console, click the logo to go to your agency console and click the primary + action button.
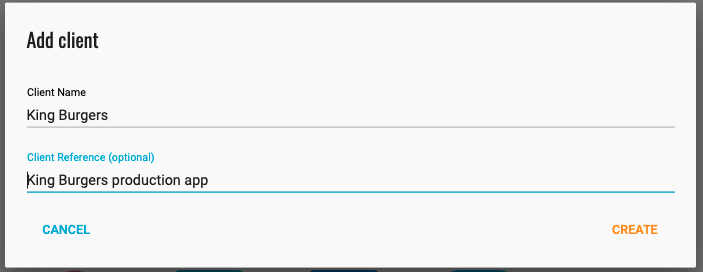
Fill in the name of the client and click Create. You will now be redirected to the client dashboard. From here click Add an app.

Fill in the name of the App and optionally add a brief description or upload an icon. Click Save.
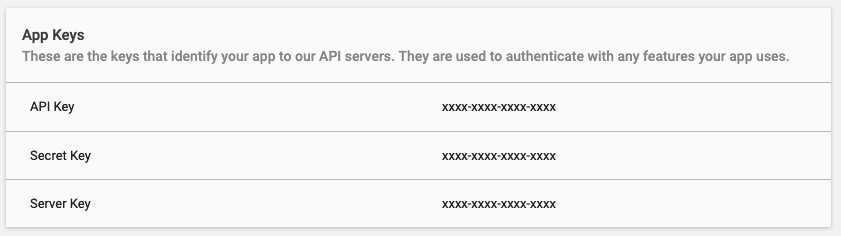
You will now be redirected to the dashboard for that app. From here, you can get your API Key and Secret Key which you will need later.
Create your app in Shoutem
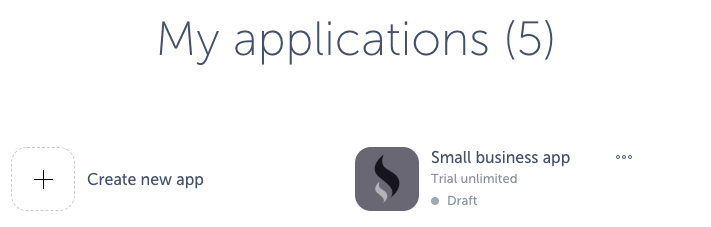
Next, you need to create a new app in Shoutem. Login to Shoutem, click My Applications and then Create new app.
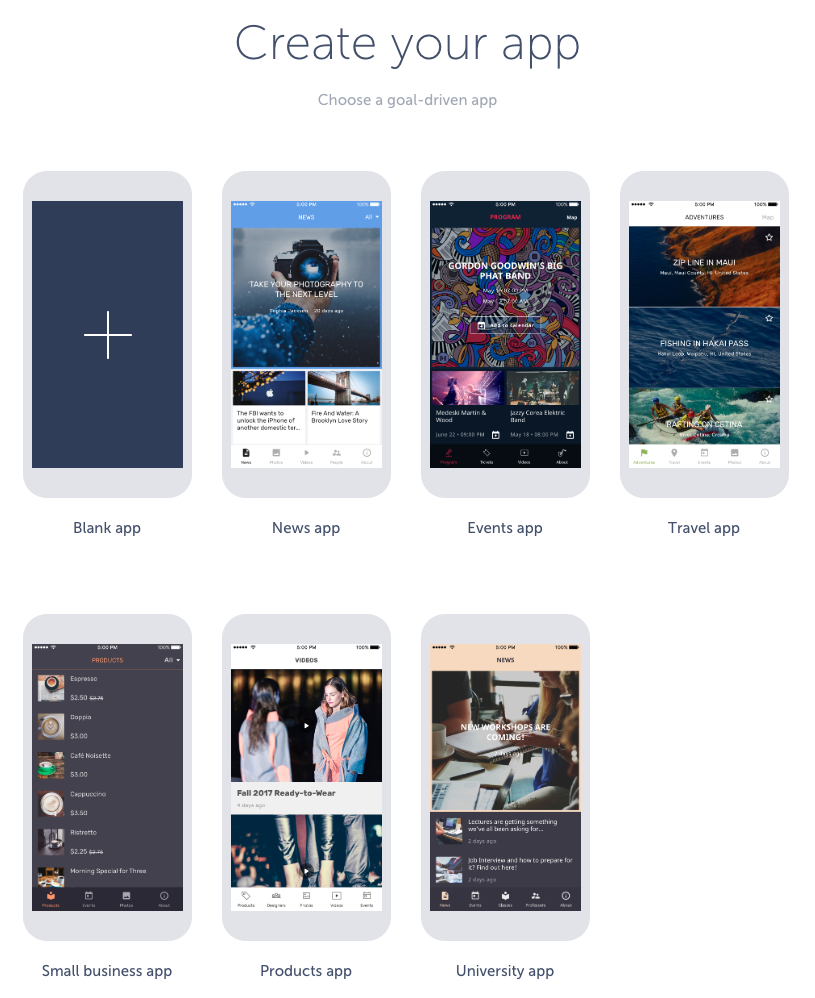
Select an appropriate template for the app you are building or Blank app to start from scratch.
Add the Kumulos Extension
Now, you need to add the Kumulos extension to your Shoutem app. Click on Extensions in the left hand menu and then click the + icon to open the marketplace.
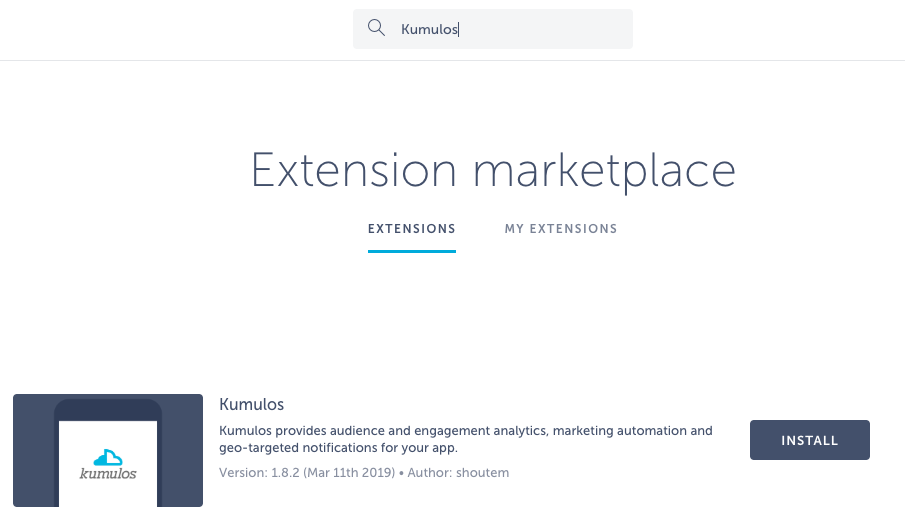
Type Kumulos into the search box and then click Install to add the extension to your app.
Configure the Kumulos Extension
You will now need the API Key and Secret Key from the App Dashboard in Kumulos.
In the app in Shoutem, click Settings in the left hand navigation and then Kumulos.
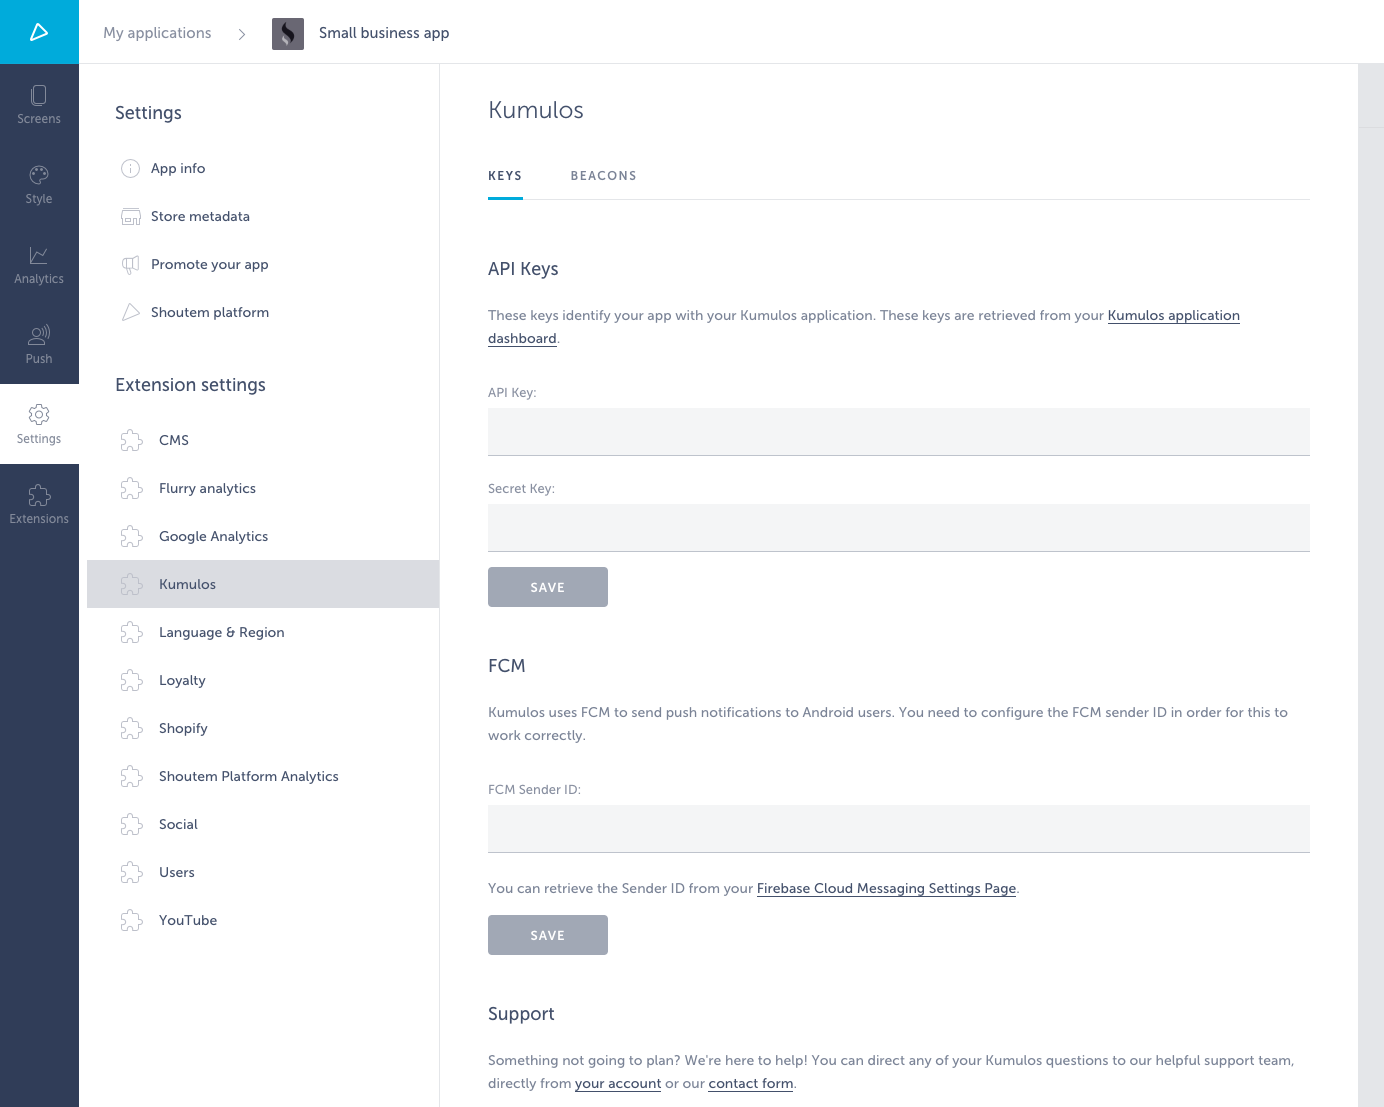
Copy and paste the API Key and Secret Key from Kumulos into the appropriate box in Shoutem and click Save when done.
Analytics
The Kumulos extension will now automatically collect Acquisition, Audience, Engagement and Retention analytics for installs of your app. To see all of this information in Kumulos, either select Analytics from the left menu or click the Start button next to Analytics on the App Dashboard.

You will now see some more information about the Analytics feature.
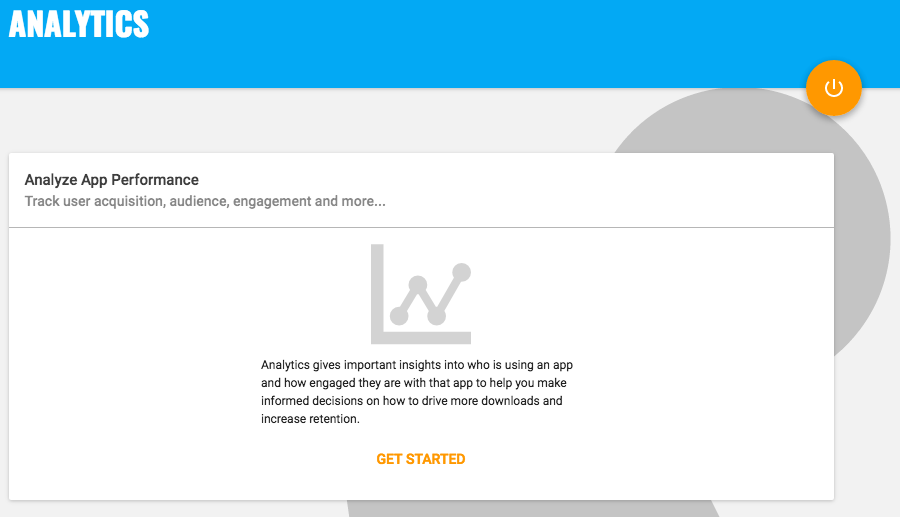
Click Get Started when prompted. You will be asked to confirm that you wish to begin a trial.
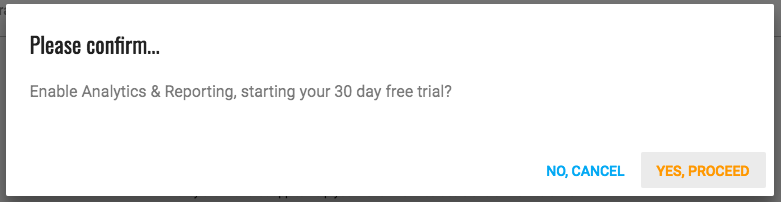
Click Yes, proceed when prompted. Your trial of analytics will now begin.
Push
Push notifications are an effective way to keep users engaged with an app. With Kumulos, you can schedule marketing campaigns from the console or send push notifications automatically with Automations. For example, when a user enters a Geofence you can send them a notification automatically. To use Push Notifications, you need to:
- Enable Push Notifications in Kumulos
- Configure Apple Push Notification Service (APNS) and Firebase Cloud Messaging (FCM)
- Enter your APNS and FCM credentials into both Kumulos and Shoutem
Enable Push Notifications in Kumulos
To start a trial, either select Push from the left menu or click the Start button next to Push on the App Dashboard.

You will now see some more information about the Push Notifications feature.
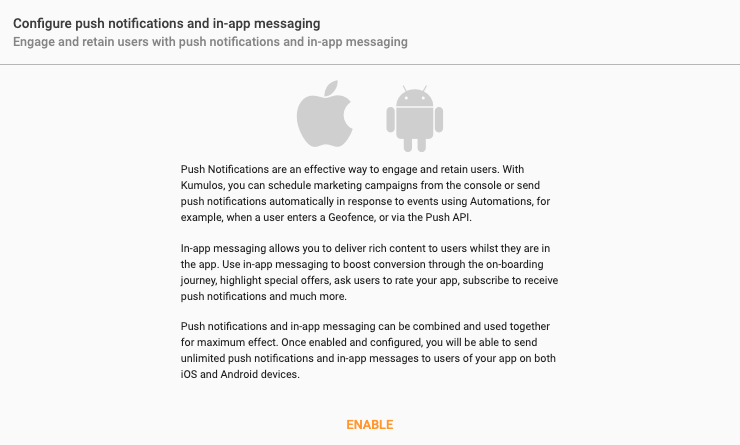
Click Enable when prompted. You will be asked to confirm that you wish to begin a trial.
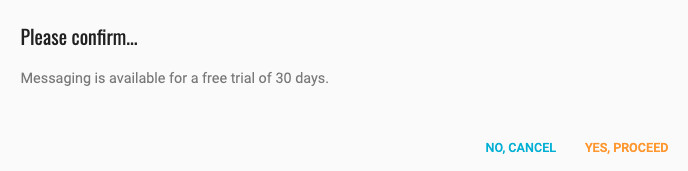
Click Yes, proceed when prompted. Your trial of push notifications will now begin.
Configure APNS and FCM
In order to send push notifications to iOS and/or Android devices you must configure the Apple Push Notification Service (APNS) and/or Firebase Cloud Messaging (FCM) and upload your push certificate to Kumulos.
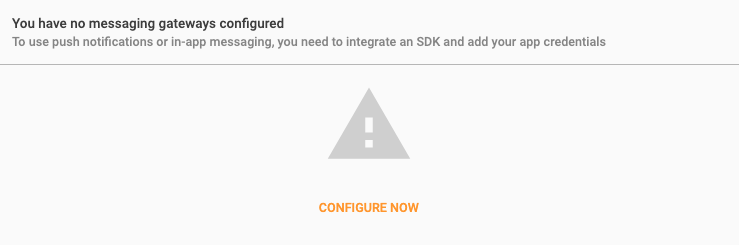
Click CONFIGURE NOW and then click the cog icon next to the platform you would like to configure to open the dialog where you can enter the required information to send push notifications to iOS devices via APNS and/or Android devices via FCM.
APNS Configuration
To integrate Kumulos Messaging into your iOS project, you have to complete the following steps with either Key or Certificate based credentials.
- Set up APNs credentials in your Apple Developer account
- Configure Push in the Kumulos Agency Console
- Integrate SDK components with your iOS project & enable in-app messaging
- Register for push from the client app
Configure APNs
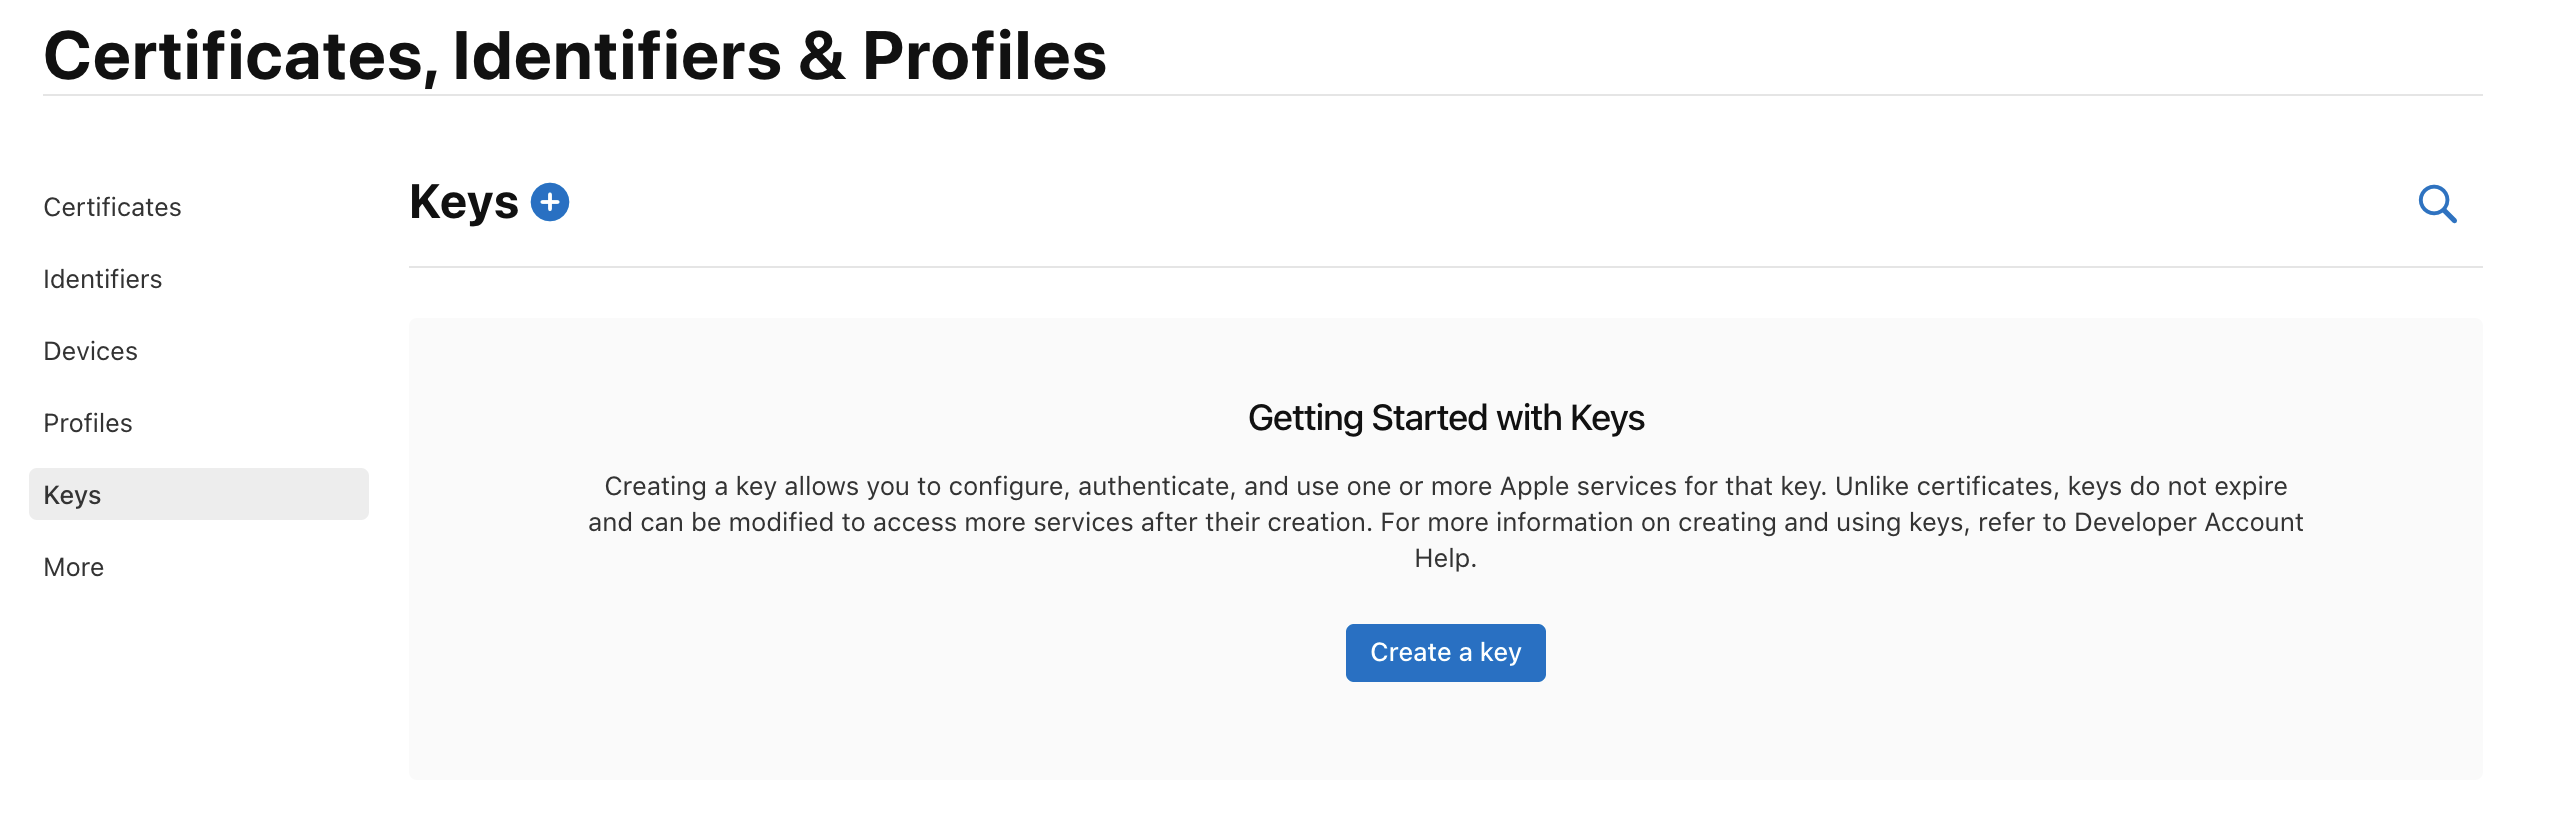
In order to generate a P8 key for Apple services first access your account at https://developer.apple.com/ and select 'Certificates, Identifiers & Profiles', then select 'Keys' on the left.
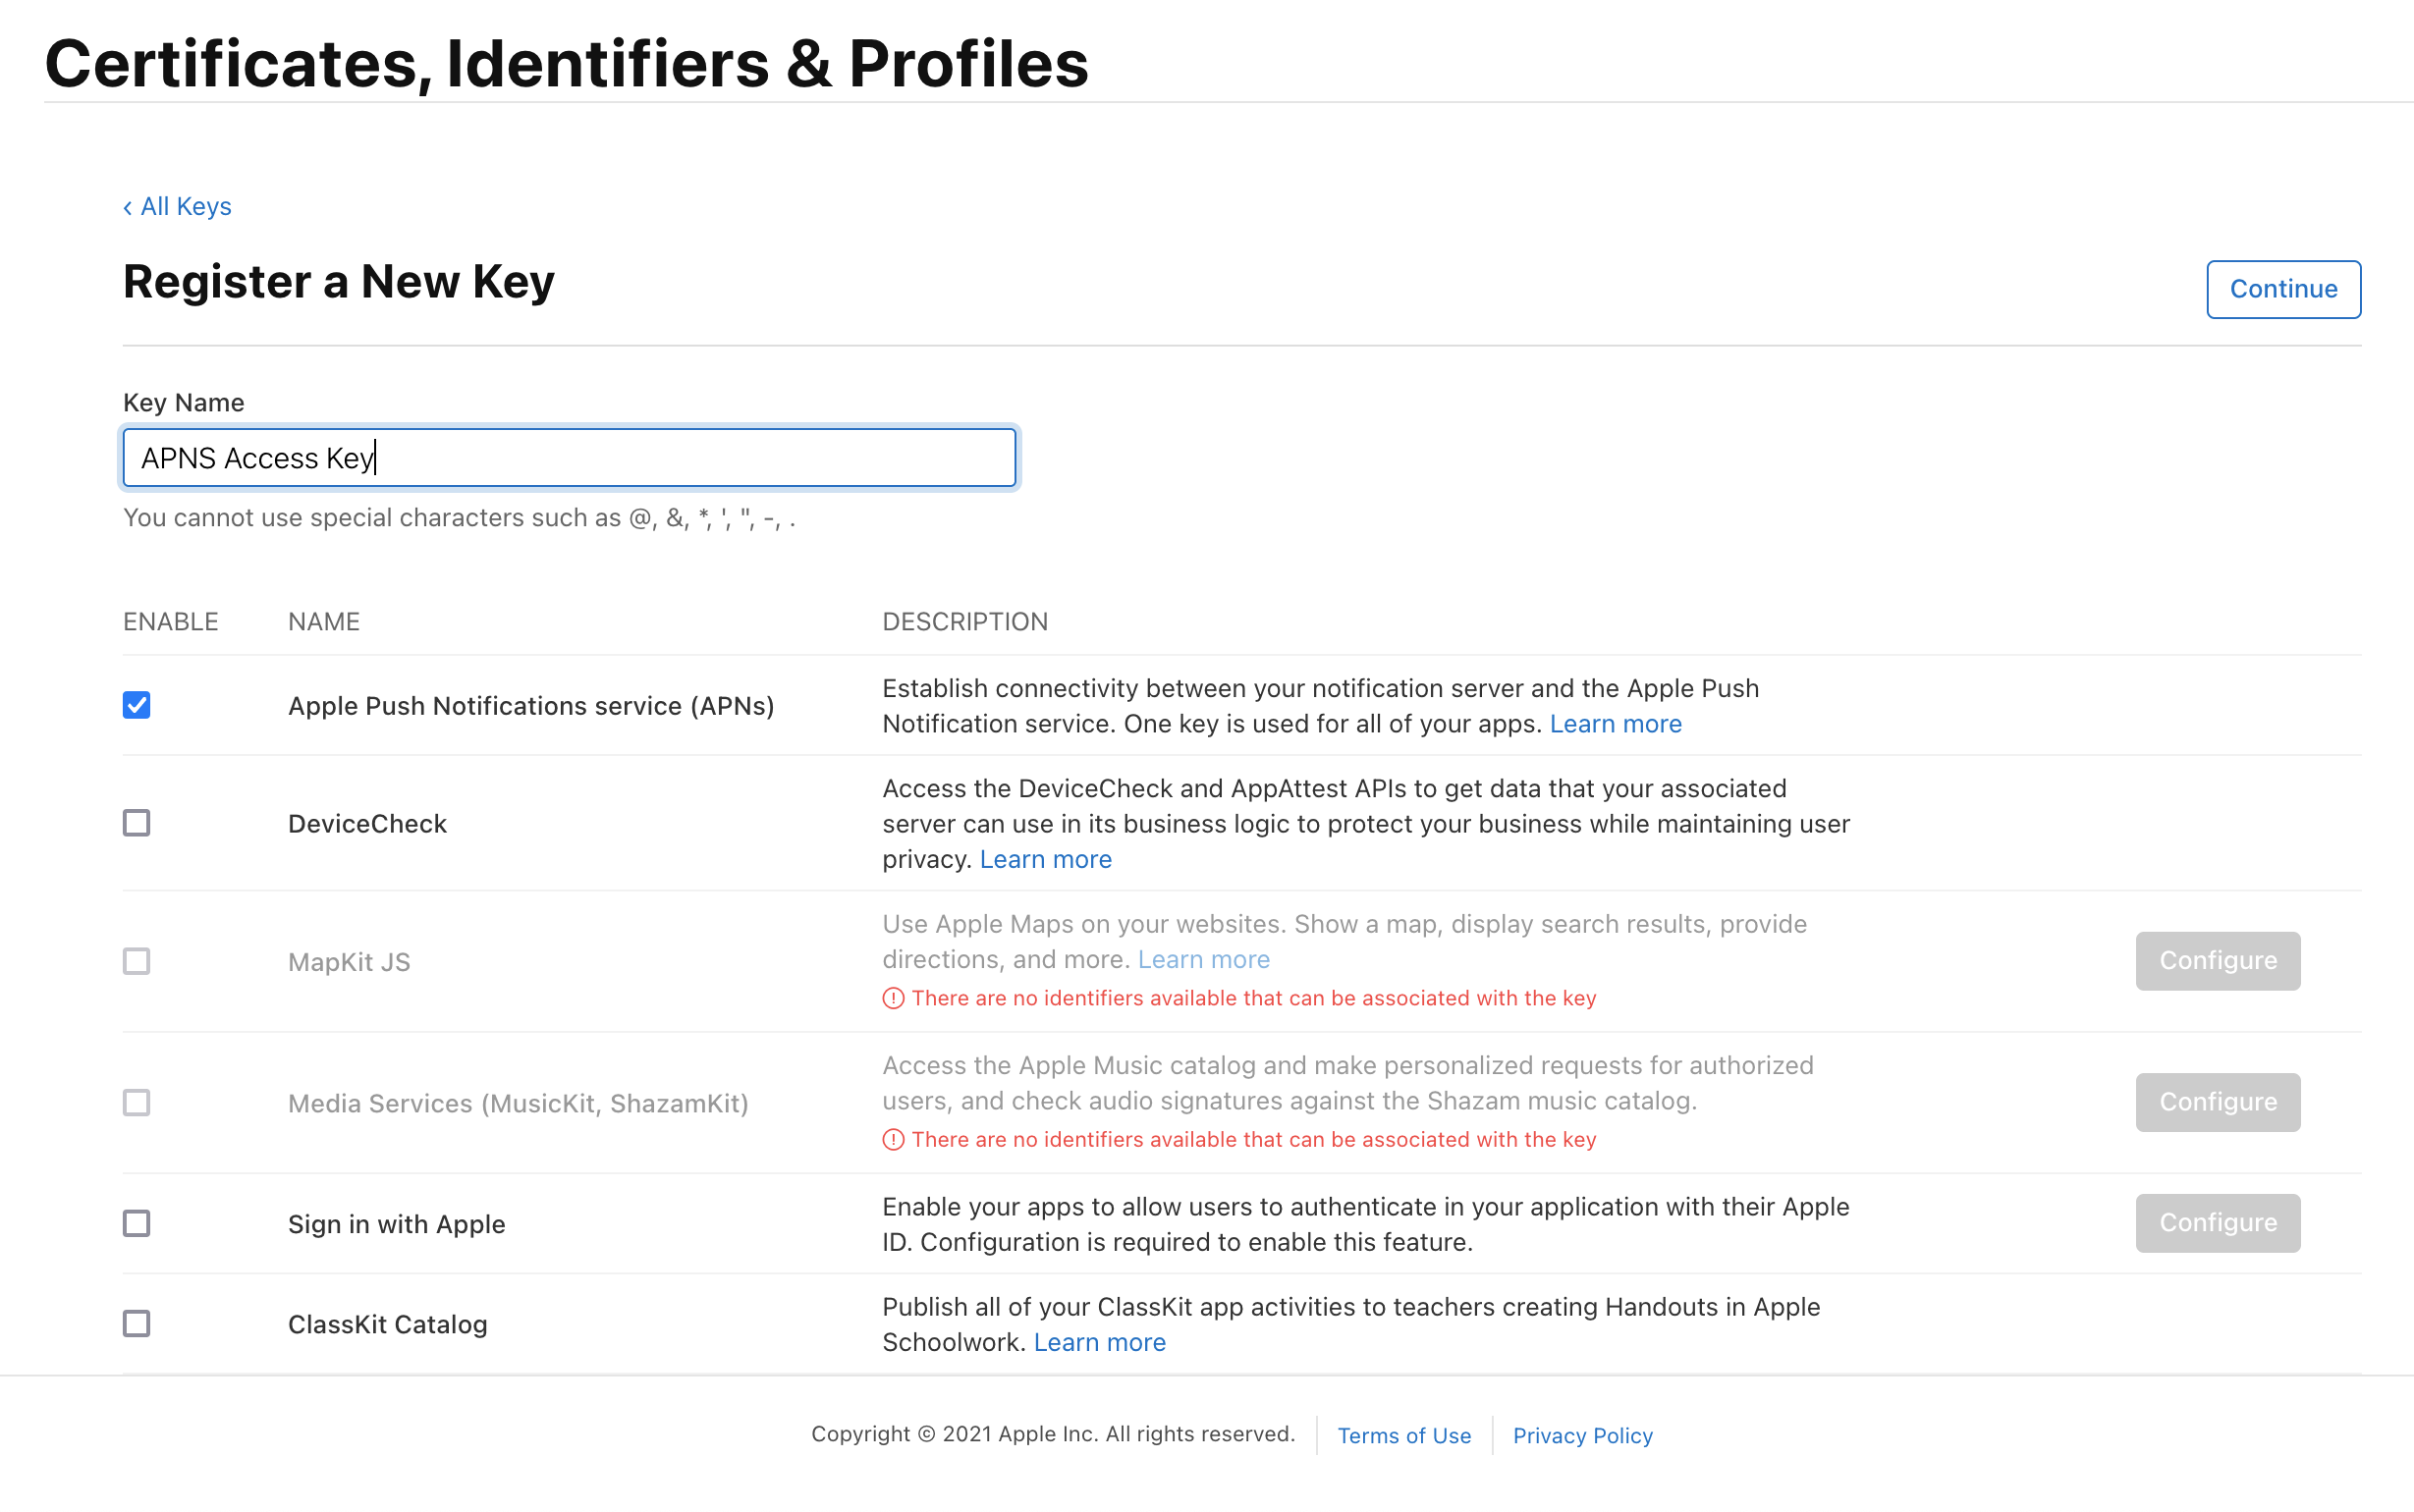
Select 'Create a Key' and on the form 'Register a New Key' enter a meaningful name such as 'APNS Access Key' and check the 'Enable' checkbox for 'Apple Push Notifications service (APNs)', click 'Continue'.
On the confirmation screen double check the APNs enablement is set then click 'Register'
On the final screen take note of your KeyID and download the key. Note that you can only download the key once, if lost the key must be revoked and re-created.
Downloading the key will save a .p8 file with the access credentials.
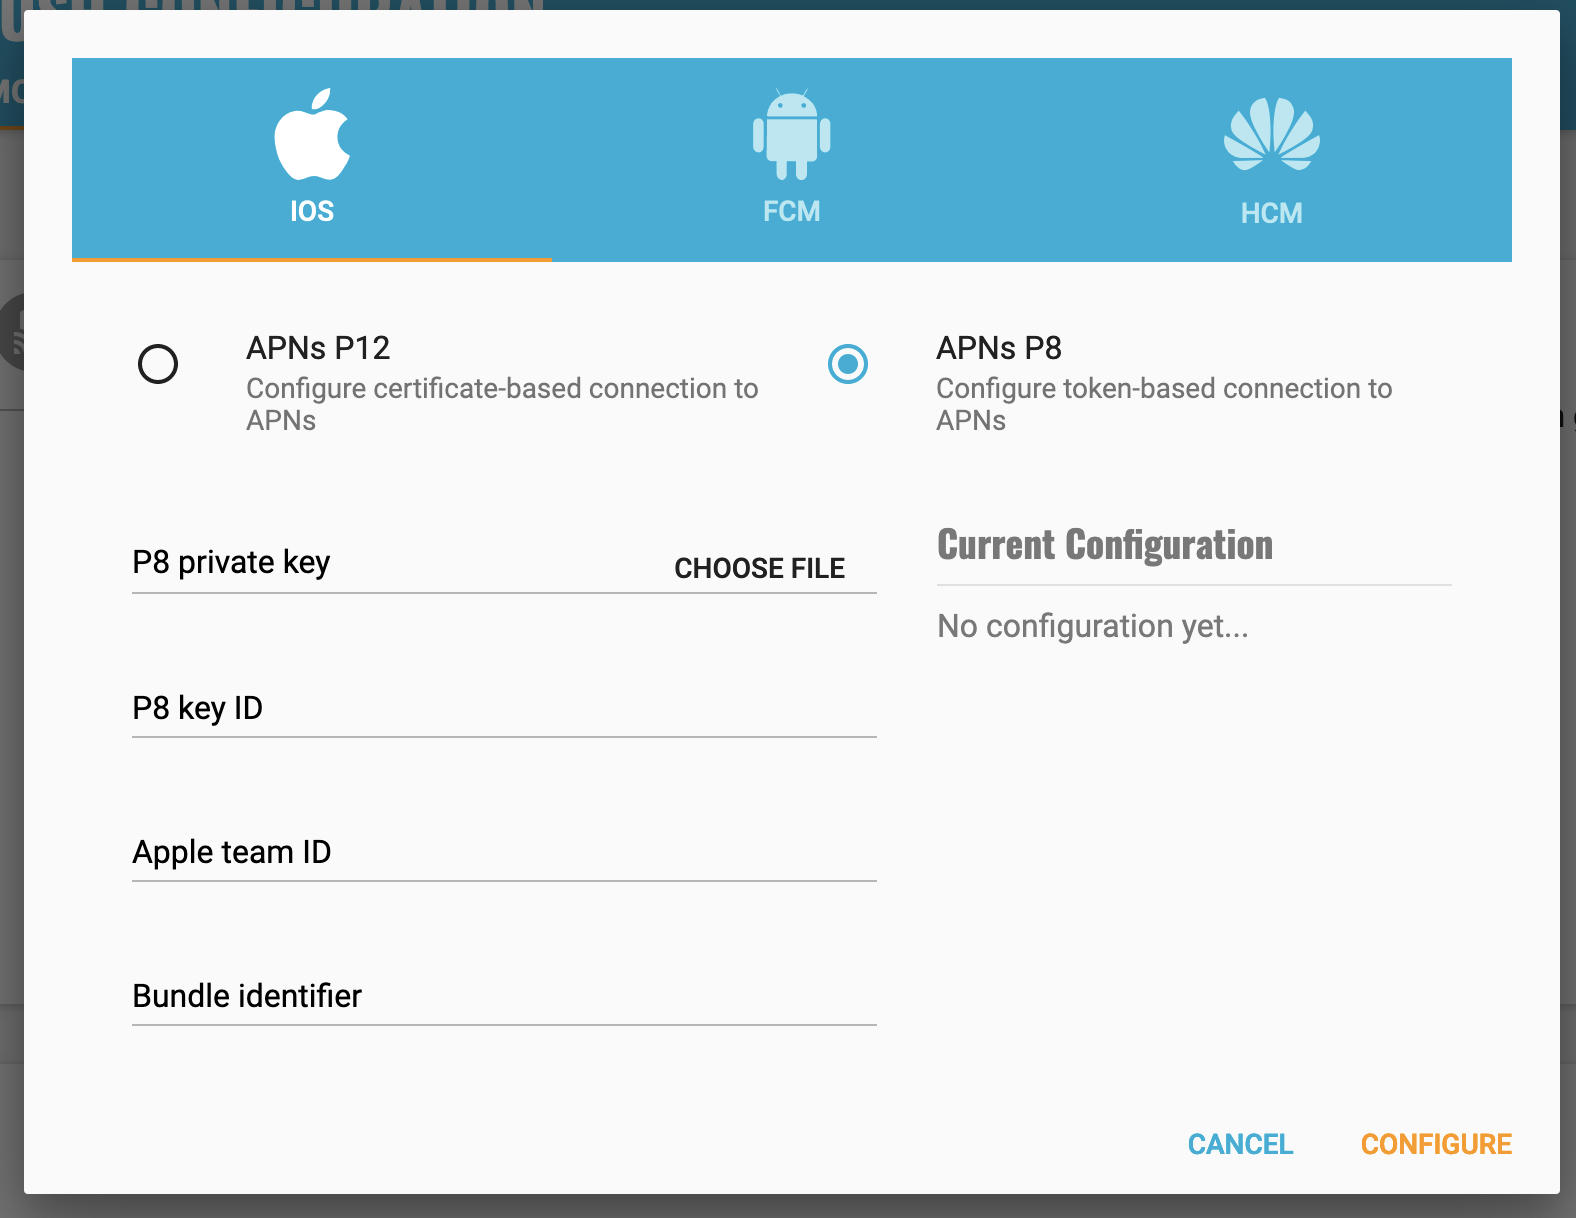
You now have all the details to configure your Kumulos App, expand 'Messaging' in the left menu, select 'Configuration' and click the cog next to the Apple icon. Select APNs P8 and select your file, enter your other details and click 'Configure'.
Configure your app capabilities and entitlements
In your app project settings use the "+ capability" button to add the App Groups, Background Modes and Push Notifications capabilities, in Background Modes you should have the "Remote Notifications" mode checked.
The video below shows how to create a push certificate on your Apple Developer portal, configure these certificates in Kumulos, and how to then configure the necessary entitlements in your iOS Xcode project.
Please note that the APNS P12 Certificate that you upload to Kumulos must be for the Bundle ID that the Shoutem Publishing Team will submit to the App Store.
FCM Configuration
In order to enable push notifications for Android with Kumulos, you'll need to set up an FCM project, configure push for your app and add your FCM Server Key to Kumulos. This is shown shown in the following video guide. You only need to watch as far as registering your app in Firebase (as the Kumulos extension automates the rest of the process).
Please note that the FCM Server Key you add to Kumulos must be that which will be used by the Shoutem Publishing Team to publish the app to the Play Store.
Include the google-services.json file in your Shoutem Kumulos Extension settings
If you have followed the steps in the above videos, you will have already entered your APNS and FCM credentials into Kumulos. However, in order to build for Android device testing, or prepare for publishing to the Play Store, you also need to configure the Kumulos Shoutem extension FCM settings.
Download the google-services.json file from your FCM configuration page, and copy the contents to the Kumulos extension settings "FCM google-services.json" field in your Shoutem dashboard.
Please note that the package must be that which will be used by the Shoutem Publishing Team to publish the app to the Play Store (found on the "App Info" page in your Shoutem application settings).
When cloning to test locally, you need to manually edit the android/app/google-services.json file package name to be com.shoutemapp for the Google Services plugin to correctly build the test app. Note this change should not be made in the extension settings page, and only applied locally for test purposes.
Beacons
Kumulos supports both iBeacon and Eddystone protocols and therefore any Bluetooth Low Energy (BLE) beacons that implement these protocols, such as those from proximity marketing specialist Beaconstac.
To trigger automated notifications when users are in proximity of Beacons, you will also need to:
- Enter your Beaconstac credentials in Shoutem
- Add physical beacon identifiers to Kumulos
Enter Beaconstac details into Shoutem
In the app in Shoutem, click Settings in the left hand navigation, then Kumulos and Beacons.
![]()
Copy and paste your Organization ID and Developer Token from Beaconstac into the appropriate box in Shoutem and click Save when done.
Add Beacon Identifiers to Kumulos
As and when you deploy physical beacons, you will need to add their identifiers to Kumulos.
![]()
You can now trigger automated notifications when a user comes into proximity with a beacon.
Testing
If you want to test Analytics, Push Notifications and geolocation or beacon proximity you will need to build your app locally and run on a real device (or an emulator for Android).
You will require a working knowledge of iOS and Android build tools in order to do this.
Prerequisites
In order to proceed, you will need to install the following development tools on an Apple Mac:
- Android Studio
- Xcode and iOS Developer Tools
- CocoaPods dependency manager
- Node.js with NPM and yarn
- Shoutem CLI
- React Native CLI
Android Studio
Download and install Android Studio if not already installed.
Xcode and iOS Developer Tools
If Xcode is not already installed, you can download Xcode from the App Store (this can take some time as it is a large download). Once installed, open Xcode and follow the prompts to install additional components including the iOS developer tools and SDK.
CocoaPods
If CocoaPods is not installed, open a terminal window and type:
sudo gem install cocoapods
Node.js with NPM and yarn
Yarn is installed using the Homebrew package manager. In a terminal, type:
/usr/bin/ruby -e "$(curl -fsSL https://raw.githubusercontent.com/Homebrew/install/master/install)"
brew install yarn
Shoutem CLI
You can now install the Shoutem CLI by typing the following in a terminal:
npm install -g @shoutem/cli
If you receive an access permissions error trying to install Shoutem CLI via NPM, you may need to manually change NPM's default directory
React Native CLI
To install React Native CLI, in a terminal type:
npm install -g react-native-cli
Cloning your app
Once you have the Shoutem CLI installed, you can clone your app to build locally. In a terminal type:
shoutem login
> enter credentials
shoutem clone
> select your app
Building for iOS
Once cloned, you can open ios/<ProjectName>.xcworkspace in Xcode.
Before you run on a device, you will need to set the bundle ID and development team for your target in the project settings. Again, if you want to test push notifications, this bundle ID will need to be the same as that in the P12 certificate uploaded to Kumulos.
Troubleshooting
App fails to build showing missing files
This error is usually resolved on the second build, so retry the build.
App fails to build due to Facebook SDK
Ensure the Facebook SDK frameworks have been downloaded and are available in the expected location in ~/Documents.
Modify the Xcode 'Header Search Paths' build setting for the Libraries/RCTFBSDK.xcodeproj project to reference the Facebook SDK frameworks using the full absolute path instead of using ~/Documents.
Building for Android
Once cloned, you are now in a position to build and run your app on an Android device.
Enable Debugging over USB
By default, most Android devices can only install and run apps downloaded from Google Play. You will need to enable USB debugging on your device in order to install your app. To do this on your device, go to Settings, Developer Options and toggle developer options On. Then scroll down and enable USB debugging.
Connect your device via USB
Connect your device via USB to your development machine and check that your device is properly connecting to the Android Debug Bridge (ADB). In a terminal:
$ adb devices
List of devices attached
emulator-5554 offline   # Google emulator
14ed2fcc device         # Physical device
Seeing device in the right column means the device is connected. You should have only one device connected at a time.
Run your app on your device
You can now run your app on your Android device from the directory it was cloned.
cd <your-app>
react-native run-android