Dashboard
Once configured, your messaging dashboard will show recent trends in your audience and message history along with a summary of recently created messages.
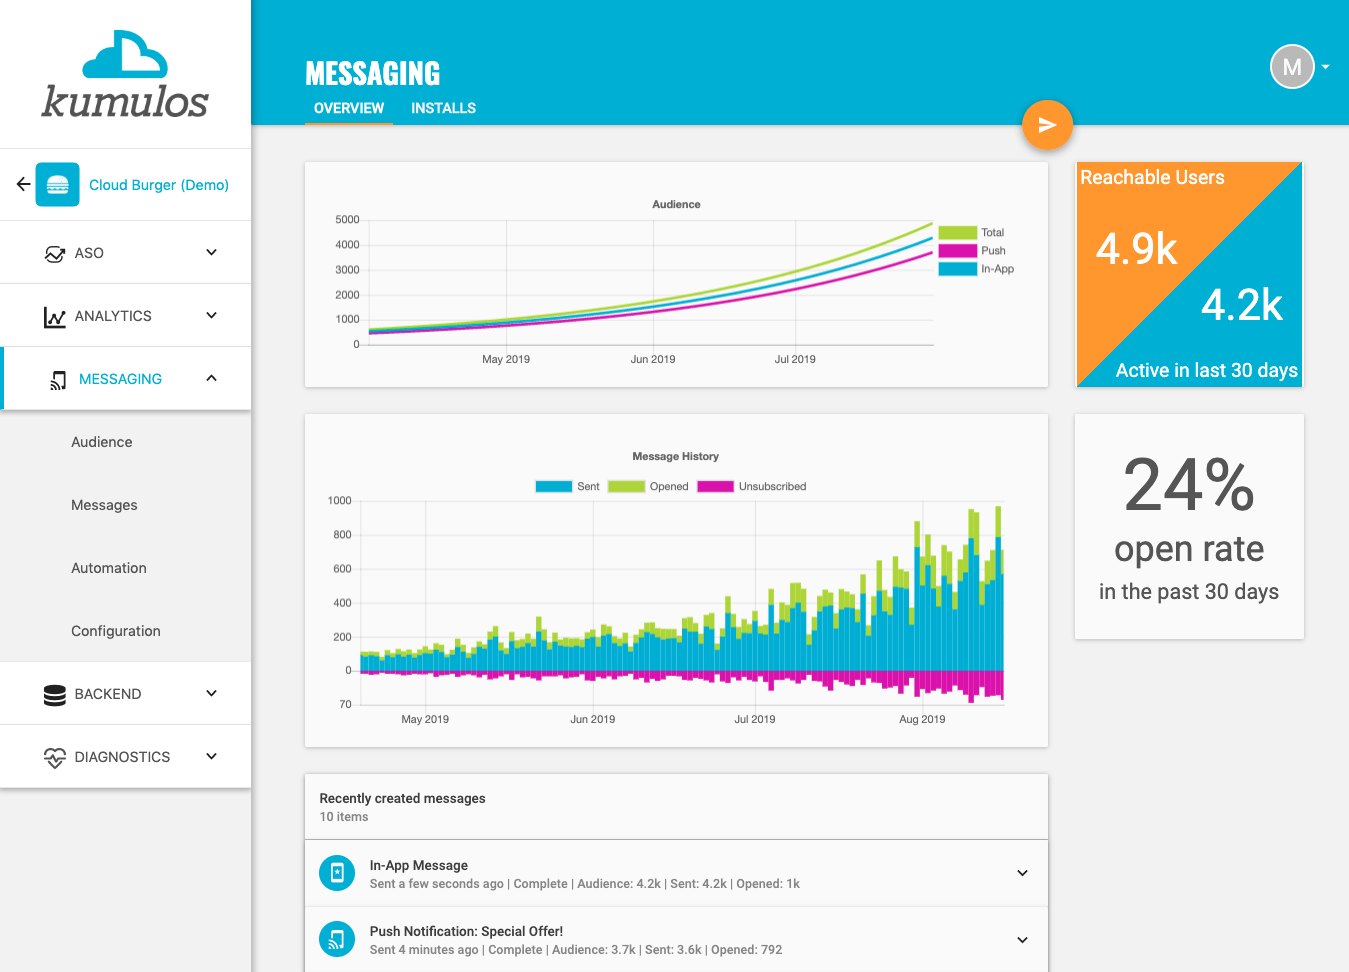
The Audience chart shows the total number of users for your app along with how many users are reachable by push notifications (have subscribed to receive push notifications) and in-app messaging (have opted-in to receive in-app messages).
The Message History chart shows how many messages have been sent each day, how many of these messages were opened and how many users then unsubscribed from push notifications (or uninstalled the app).
Messages opened within seven days of being sent are shown on the day the message was sent to make it easier to visualize the success of your messaging campaigns. Messages opened more than seven days after a message has been sent are not counted.
If you have applied your branding to your console, then the messaging dashboard will reflect your logo and color theme. This is what your clients will see in their client portal.

Scheduled Messages
You can view messages scheduled to be sent in the future by expanding 'Messaging' in the left menu and clicking the 'Scheduled' tab.
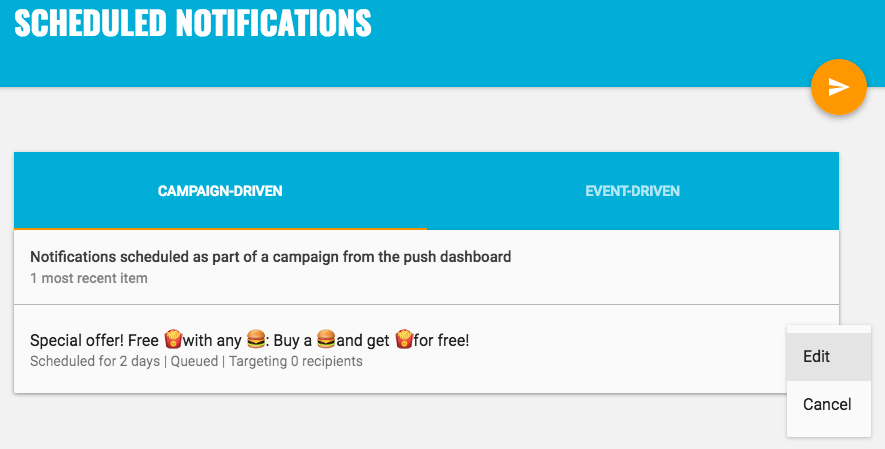
From here, you can "Edit" the content and data in the notification or "Cancel" a notification or in-app message. Once a notification has been scheduled, it is not possible to change the target for the notification or the schedule. If you wish to do so, "Cancel" the notification and create a new notification with the required target and/or schedule.
Once a scheduled notification or in-app message has been sent (for all timezones if "Device Local Time" was selected), it will no longer be shown under 'Scheduled' messages, but will be shown in 'Sent' messages.
If an In-App message was complete or cancelled and was delivered to any users, it can be redacted. This means that the message will be removed from user devices -- this may be necessary if the message was sent by mistake.
Sent Messages
You can view all sent push notifications and in-app messages by expanding 'Messaging' in the left menu and clicking 'Sent'.
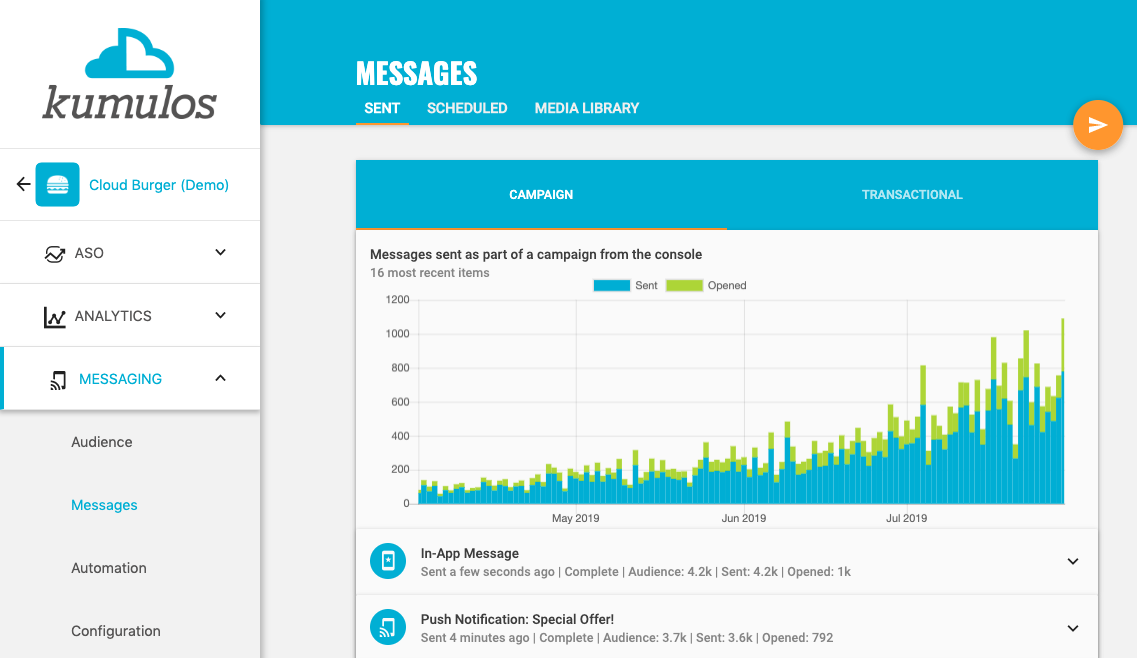
The messages list shows all sent messages along with summary information of their results. It is split into two tabs:
- Campaign driven messages, created and sent from your agency console or by your client from their client portal
- Transactional messages, triggered by automation rules or the Push API
Viewing Results
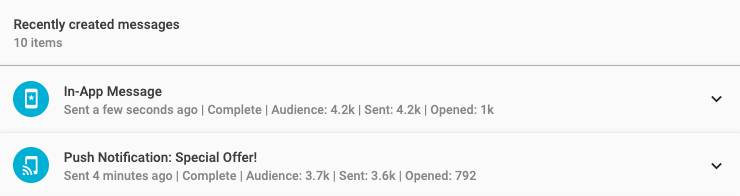
For each message that has been sent, you will be able to see the message status, the reachable audience of the message, the number of users to whom the message was successfully sent and the number of users that then opened the message.
Click on a message to see more detailed results including delivery receipts.
Detailed Results
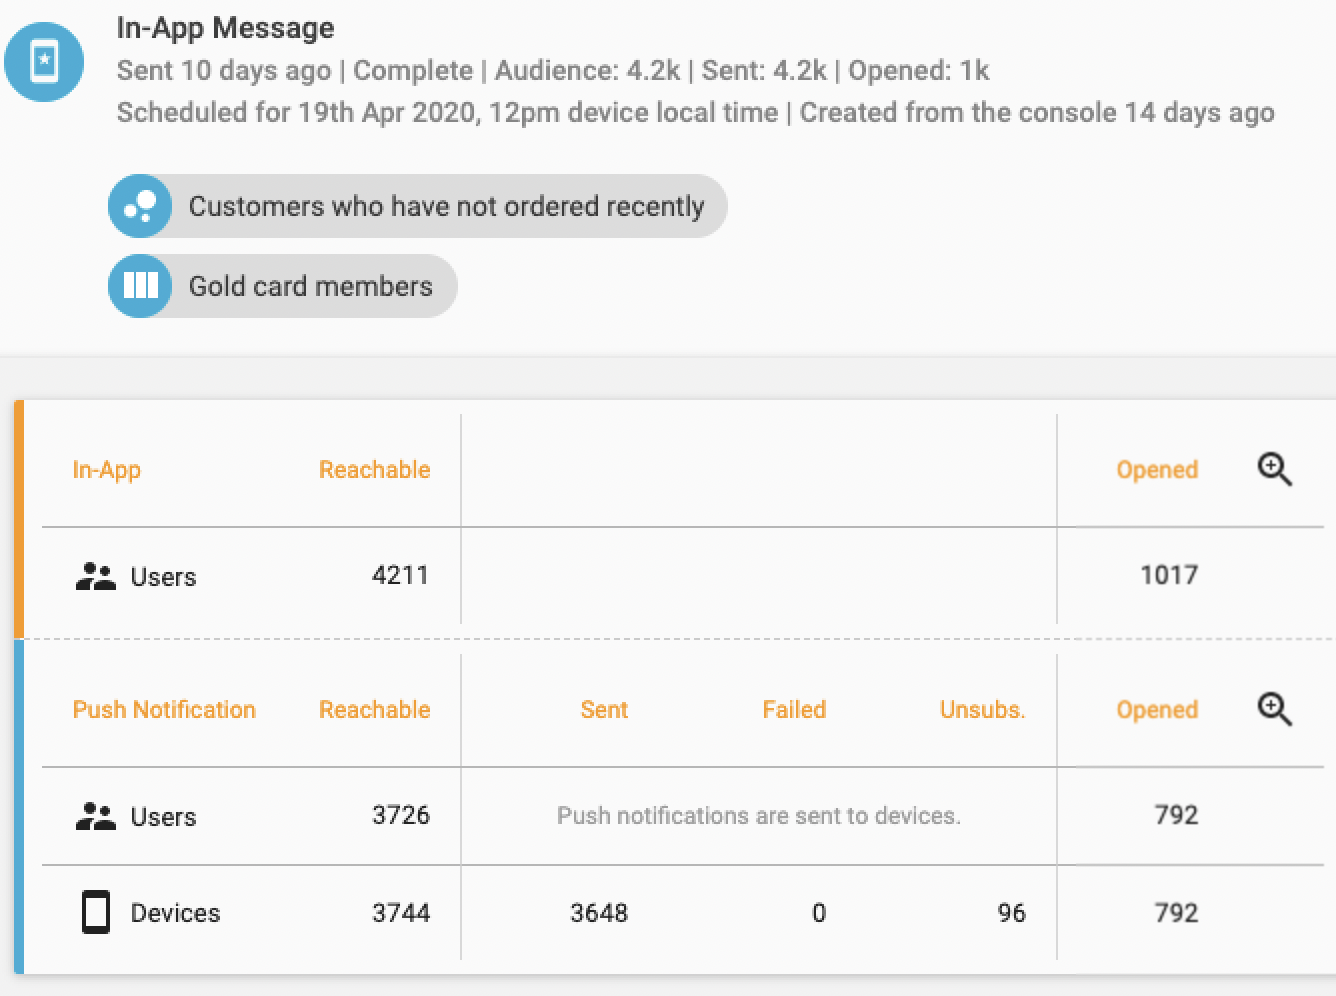
When you expand a message, you can see the targeting options that were applied to create the audience for the message. Click on the magnifying glass to see the message itself.
The table will then show you the size of the reachable audience - the number of users in the segment, channel and/or geofence who have subscribed to push notifications or opted-in to receive in-app messages (as appropriate for that message).
As Push Notifications are sent to installs of your app on a device, the table then shows you, for the reachable audience:
- How many installs they have
- How many we were able to send to
- How many failed (rejected by the APNS or FCM gateway e.g. due to bundle ID mis-match)
- How many installs had unsubscribed from push notifications (or uninstalled the app)
The sum of sent, failed and unsubscribed will total reachable. Finally, the table will show you how delivery receipts we received and many users opened the notification (and on how many devices).

For in-app messages, you can not only see the detailed results and number of users who have opened the in-app message itself, you can also see detailed results for the push notification that was used to notify the user that a new in-app message is available (if one was sent).
Delivery Receipts
Push notifications are sent from Kumulos to the native gateway for each device (e.g. APNS for iOS devices and FCM for Android devices). While in the vast majority of cases, the gateway will then deliver the notification to the device in near real-time, there are numerous legitimate reasons why this might not happen. For example if a device is powered down, has no network coverage or mobile data is switched off. The gateway will continue to attempt delivery for 3 days, but ultimately delivery cannot be guaranteed in this time.
In addition, the gateways (APNS in particular) can be very slow to report uninstalls or unsubscribes. Apple, for example, have recently introduced a variable delay before reporting a device as having unsubscribed for privacy reasons. All of this can result in sent counts giving an inflated view of the reachable audience and therefore deflating view open-rates and campaign performance.
For this reason, Kumulos also reports the number of devices to which your push notification was actually delivered to. When the device receives a push notification, the Kumulos SDK in your app makes a network request to confirm receipt. Furthermore, this delivery receipt is first persisted locally before being sent to Kumulos ensuring that even if a device should lose network coverage once the push is received, the delivery receipt will be sent when network connection is restored, giving a more accurate view of your reachable audience, open-rates and campaign performance.
To see delivery receipts, you must update your app to include a recent version of our SDK e.g. Swift v8.4.0 and Android v7.0.0 or later. If you are using another SDK, please see the changelog for that SDK to see in which version support for delivery receipts was added.
Message Status
The message status can be one of the following:
| Status | Description |
|---|---|
| Queued | The message has been queued for delivery to the appropriate gateways. This status should only be visible for a few seconds (unless sending has been scheduled for the future). |
| Failed | During target resolution, no reachable users were found and so message sending failed. |
| Sending | The message is being sent to all reachable users via the appropriate gateway. Messages scheduled for the future will remain in this state until the scheduled send time has passed in all timezones. |
| Sent | The message has been sent via the appropriate gateway and we are awaiting feedback as to how many installs the message was sent to. This status applies to push notifications only. |
| Complete | We have received detailed feedback from the gateways as to how many users and installs we were able to send the message to. Message sending is now complete. |
| Cancelled | Message sending was cancelled. This status only applies to scheduled messages. |
| Redacted | In-App message was delivered to users, but then was removed via Messaging Dashboard. |
Media Library
Your Media Library lets you upload and store images for use in your messages. To access your media library, expand 'Messaging' in the left menu and click the 'Media Library' tab. Here, you can upload a new image, edit images you have previously uploaded or search the Unsplash stock image library.
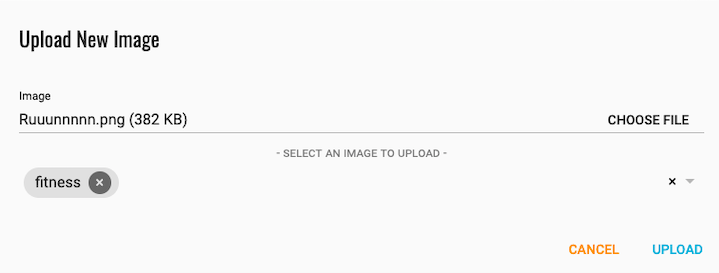
Upload a new image
To upload a new image, click the upload primary action button. Click 'Choose File' to browse your computer and find the image. Select any tags to help you find the image later or to add a new tag, just start typing and click 'Create new tag'. Click 'Upload' to add the image to your media library.
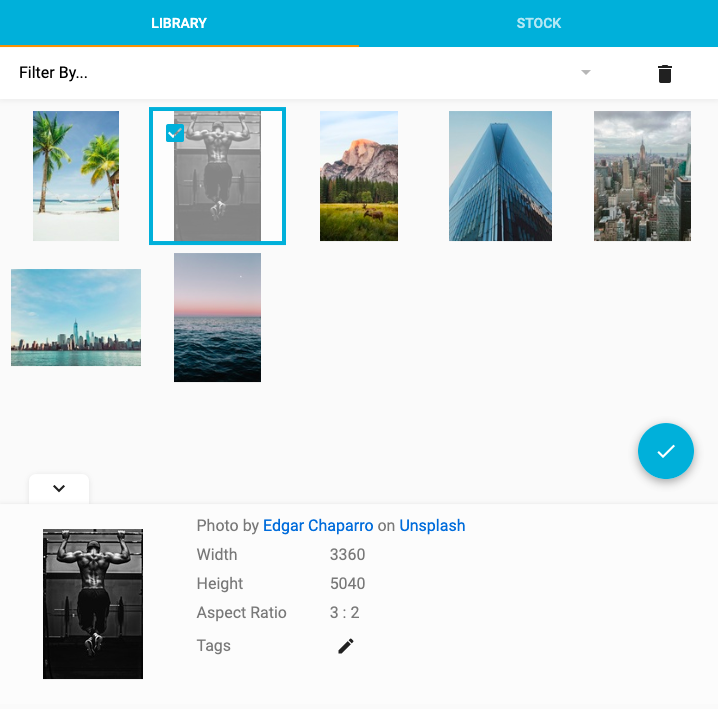
Edit image tags
To edit the tags on any images you have previously uploaded, simply select the image(s) and click the edit pencil icon to add or remove tags as required. To add a new tag, just start typing and click 'Create new tag'. Click the tick icon when done. You can either scroll through your library or filter by the tags you have added previously to find the image your are looking for.
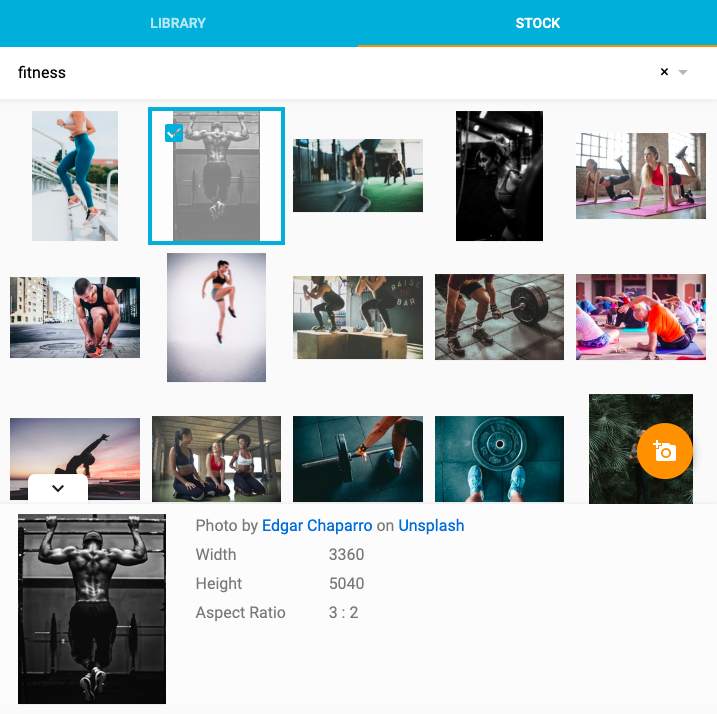
Add a stock image
To add an image from the Unsplash stock image library to your media library, click the 'Stock' tab and enter one or more keywords in the search box. Scroll through the results and select an image to see more information about it. Once you have found the image, click the camera primary action button to add this image to your media library.
Remove an image
To remove one or more images from your media library, simply select the image(s) and click the trashcan icon.