Mobile Push Notifications
To enable Push Notifications and In-App Messaging for an app, simply enable the Messaging feature within Kumulos, upload your APNS and/or FCM certificates and then integrate an SDK into your app project. As soon as you publish the update to the app stores you will then be able to send push notifications and in-app messages to your users.
If you are an agency, managing an app for a client, you can now send messages on their behalf as part of a retention and engagement service you can deliver for them or, you can let them do this from their Client Portal showing your brand.
Setup
Create a Client
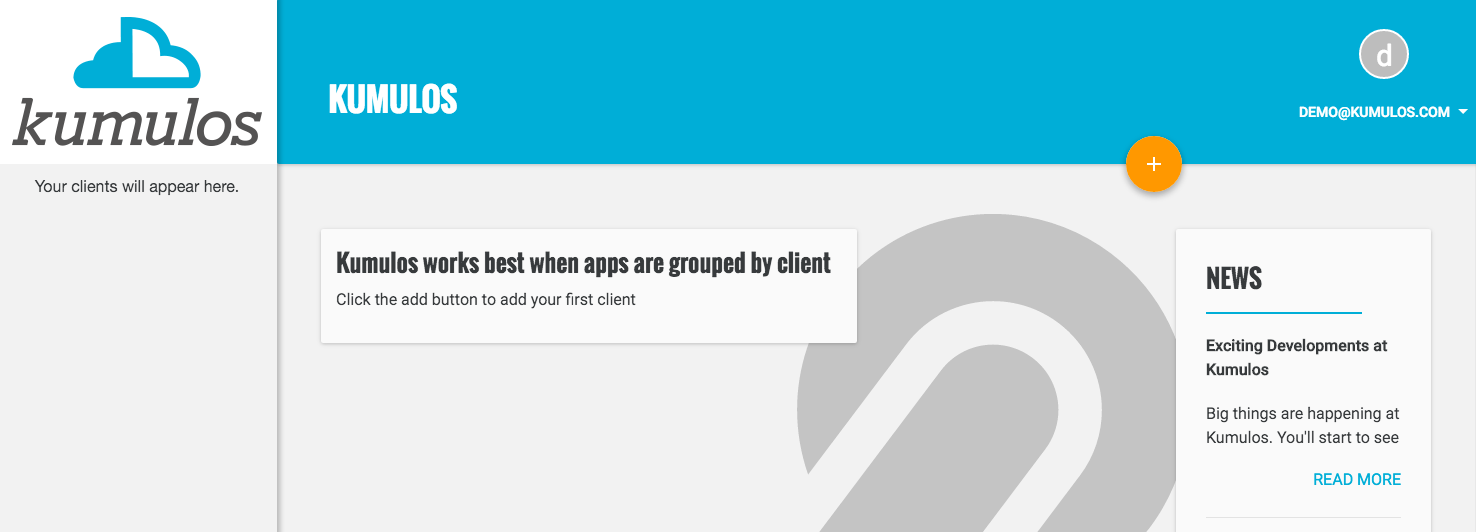
Kumulos groups your Apps under Clients, usually the name of the company whose app you are building or optimizing. To add a new client click the primary action button from your agency console.
Fill in the name of the client. If you are managing an app for someone else, you can enable the Client Portal so they can send push notifications and in-app messages to their users. Click "Save" when done.
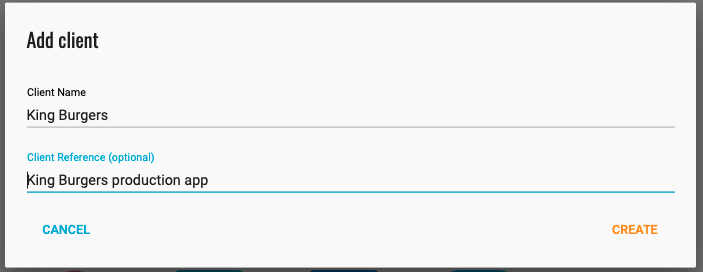
The Client reference field is an optional field that will allow you to easily identify the app in API responses. You will now be redirected to the client dashboard.
Add an App
Now, you can add an app for that client by clicking the primary action button. Fill in the name of the App, and optionally, add a brief description and upload an icon. Click "Save" when done.

You will now be redirected to the dashboard for that app where you can enable Push Notifications.
Enable Messaging
To start a 30 day free trial, either select Messaging from the left menu or click the Start button next to Messaging on the App Dashboard.

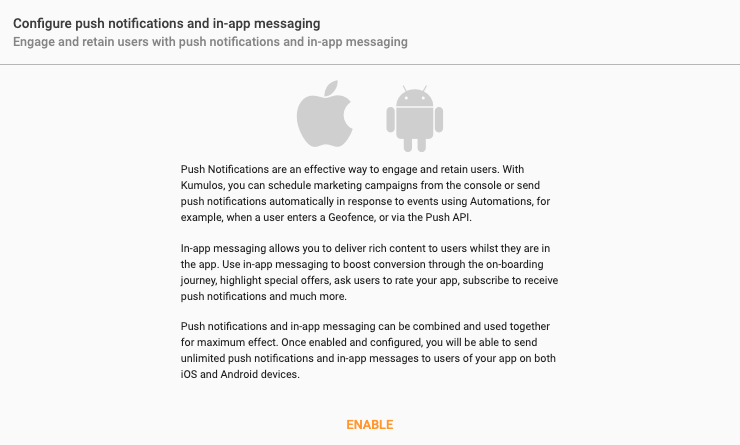
You will now see some more information about the Messaging feature.
Click Enable when prompted. You will be asked to confirm that you wish to begin a 30 day free trial.
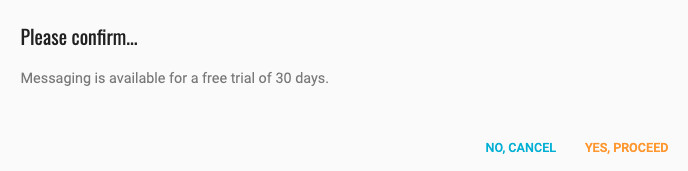
Click Yes, proceed when prompted. Your 30 day trial of messaging will begin.
Configure Gateways
In order to send messages to users of your app, you must configure one or more messaging gateways. For mobile push notifications, this will likely involve configuring the Apple Push Notification Service (APNS) and/or Firebase Cloud Messaging (FCM), uploading your push certificates to Kumulos and then integrating the SDK. For in-app messaging, you simply need to integrate the SDK. There is no additional configuration required for web push notifications.
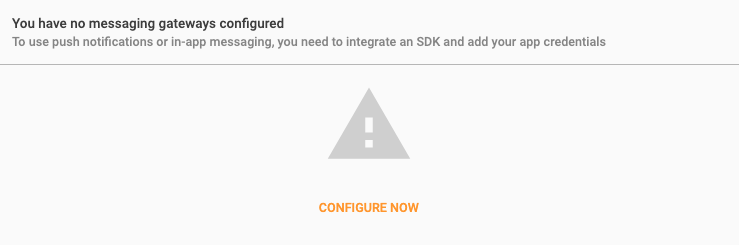
Click CONFIGURE NOW or, expand 'Messaging' in the left menu and select 'Configuration'.
You will now see the Messaging Configuration screen where you can add your APNS and/or FCM credentials and download the appropriate SDKs for your app.
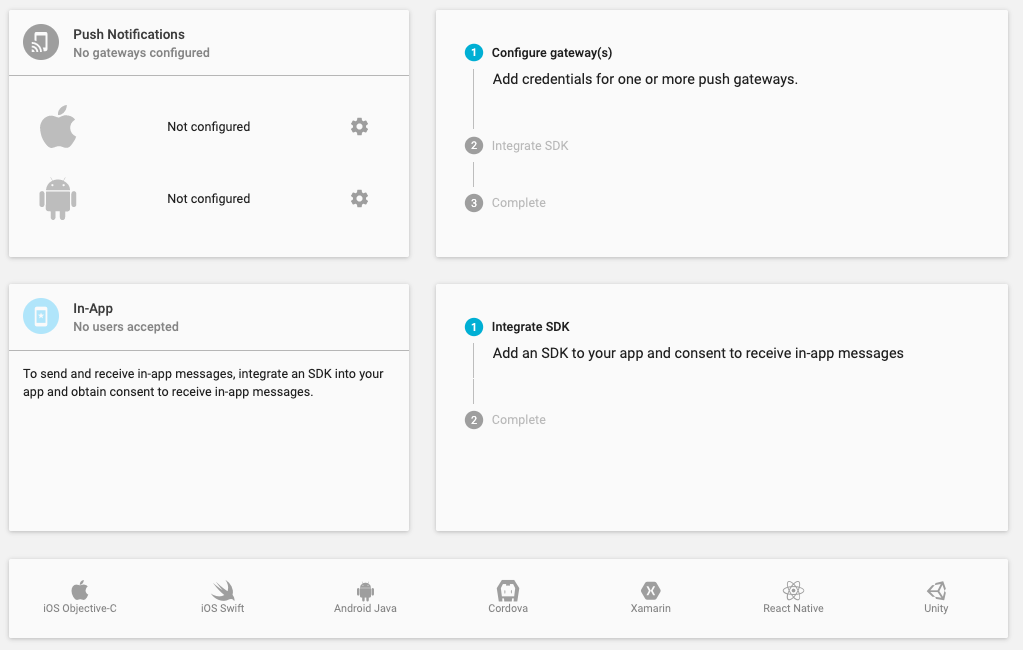
Click the cog icon next to the platform you would like to configure to open the dialog where you can enter the required information to send push notifications to iOS devices via APNS and/or Android devices via FCM.
APNs Configuration
In order to send push notifications to iOS devices with Kumulos, you have to complete the following steps with either Key or Certificate based credentials.
- Set up APNs credentials in your Apple Developer account
- Configure Push in the Kumulos Agency Console
Configure APNs
In order to generate a P8 key for Apple services first access your account at https://developer.apple.com/ and select 'Certificates, Identifiers & Profiles', then select 'Keys' on the left.
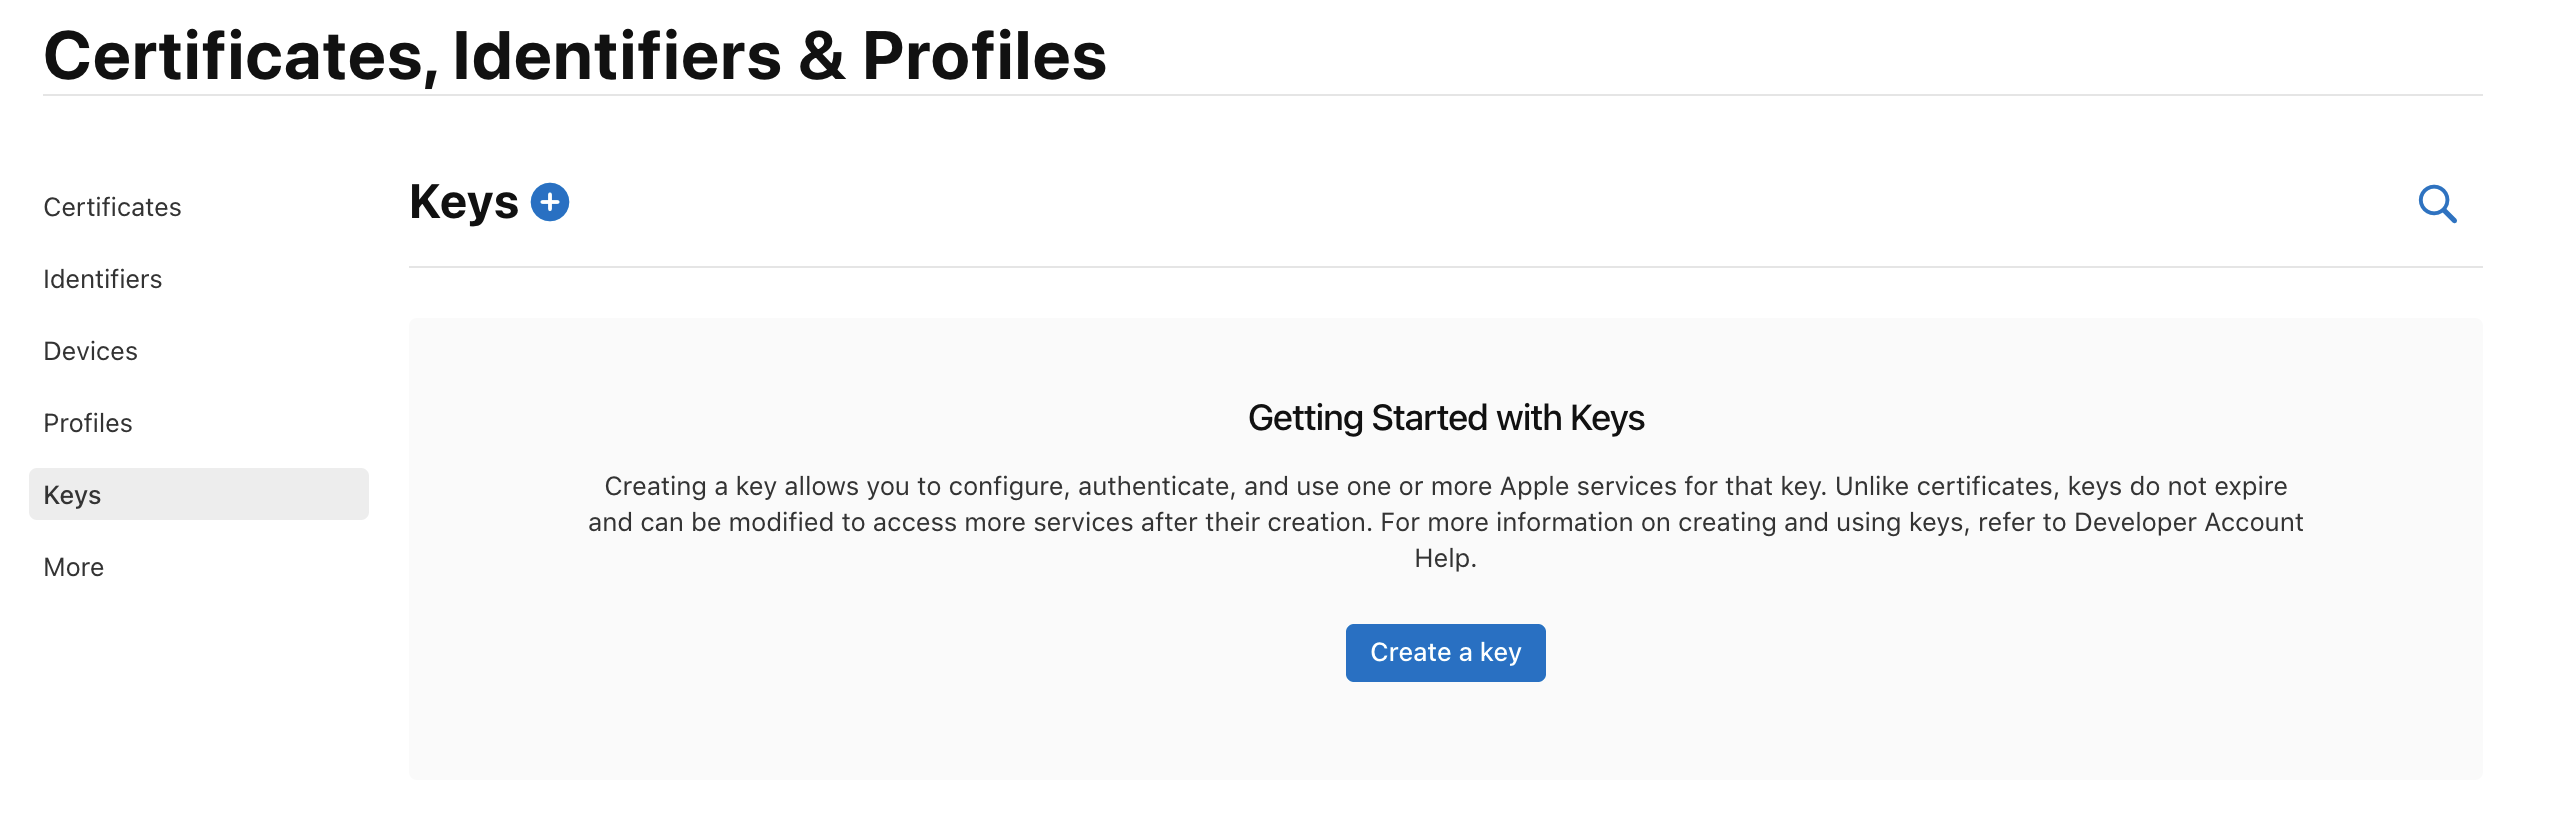
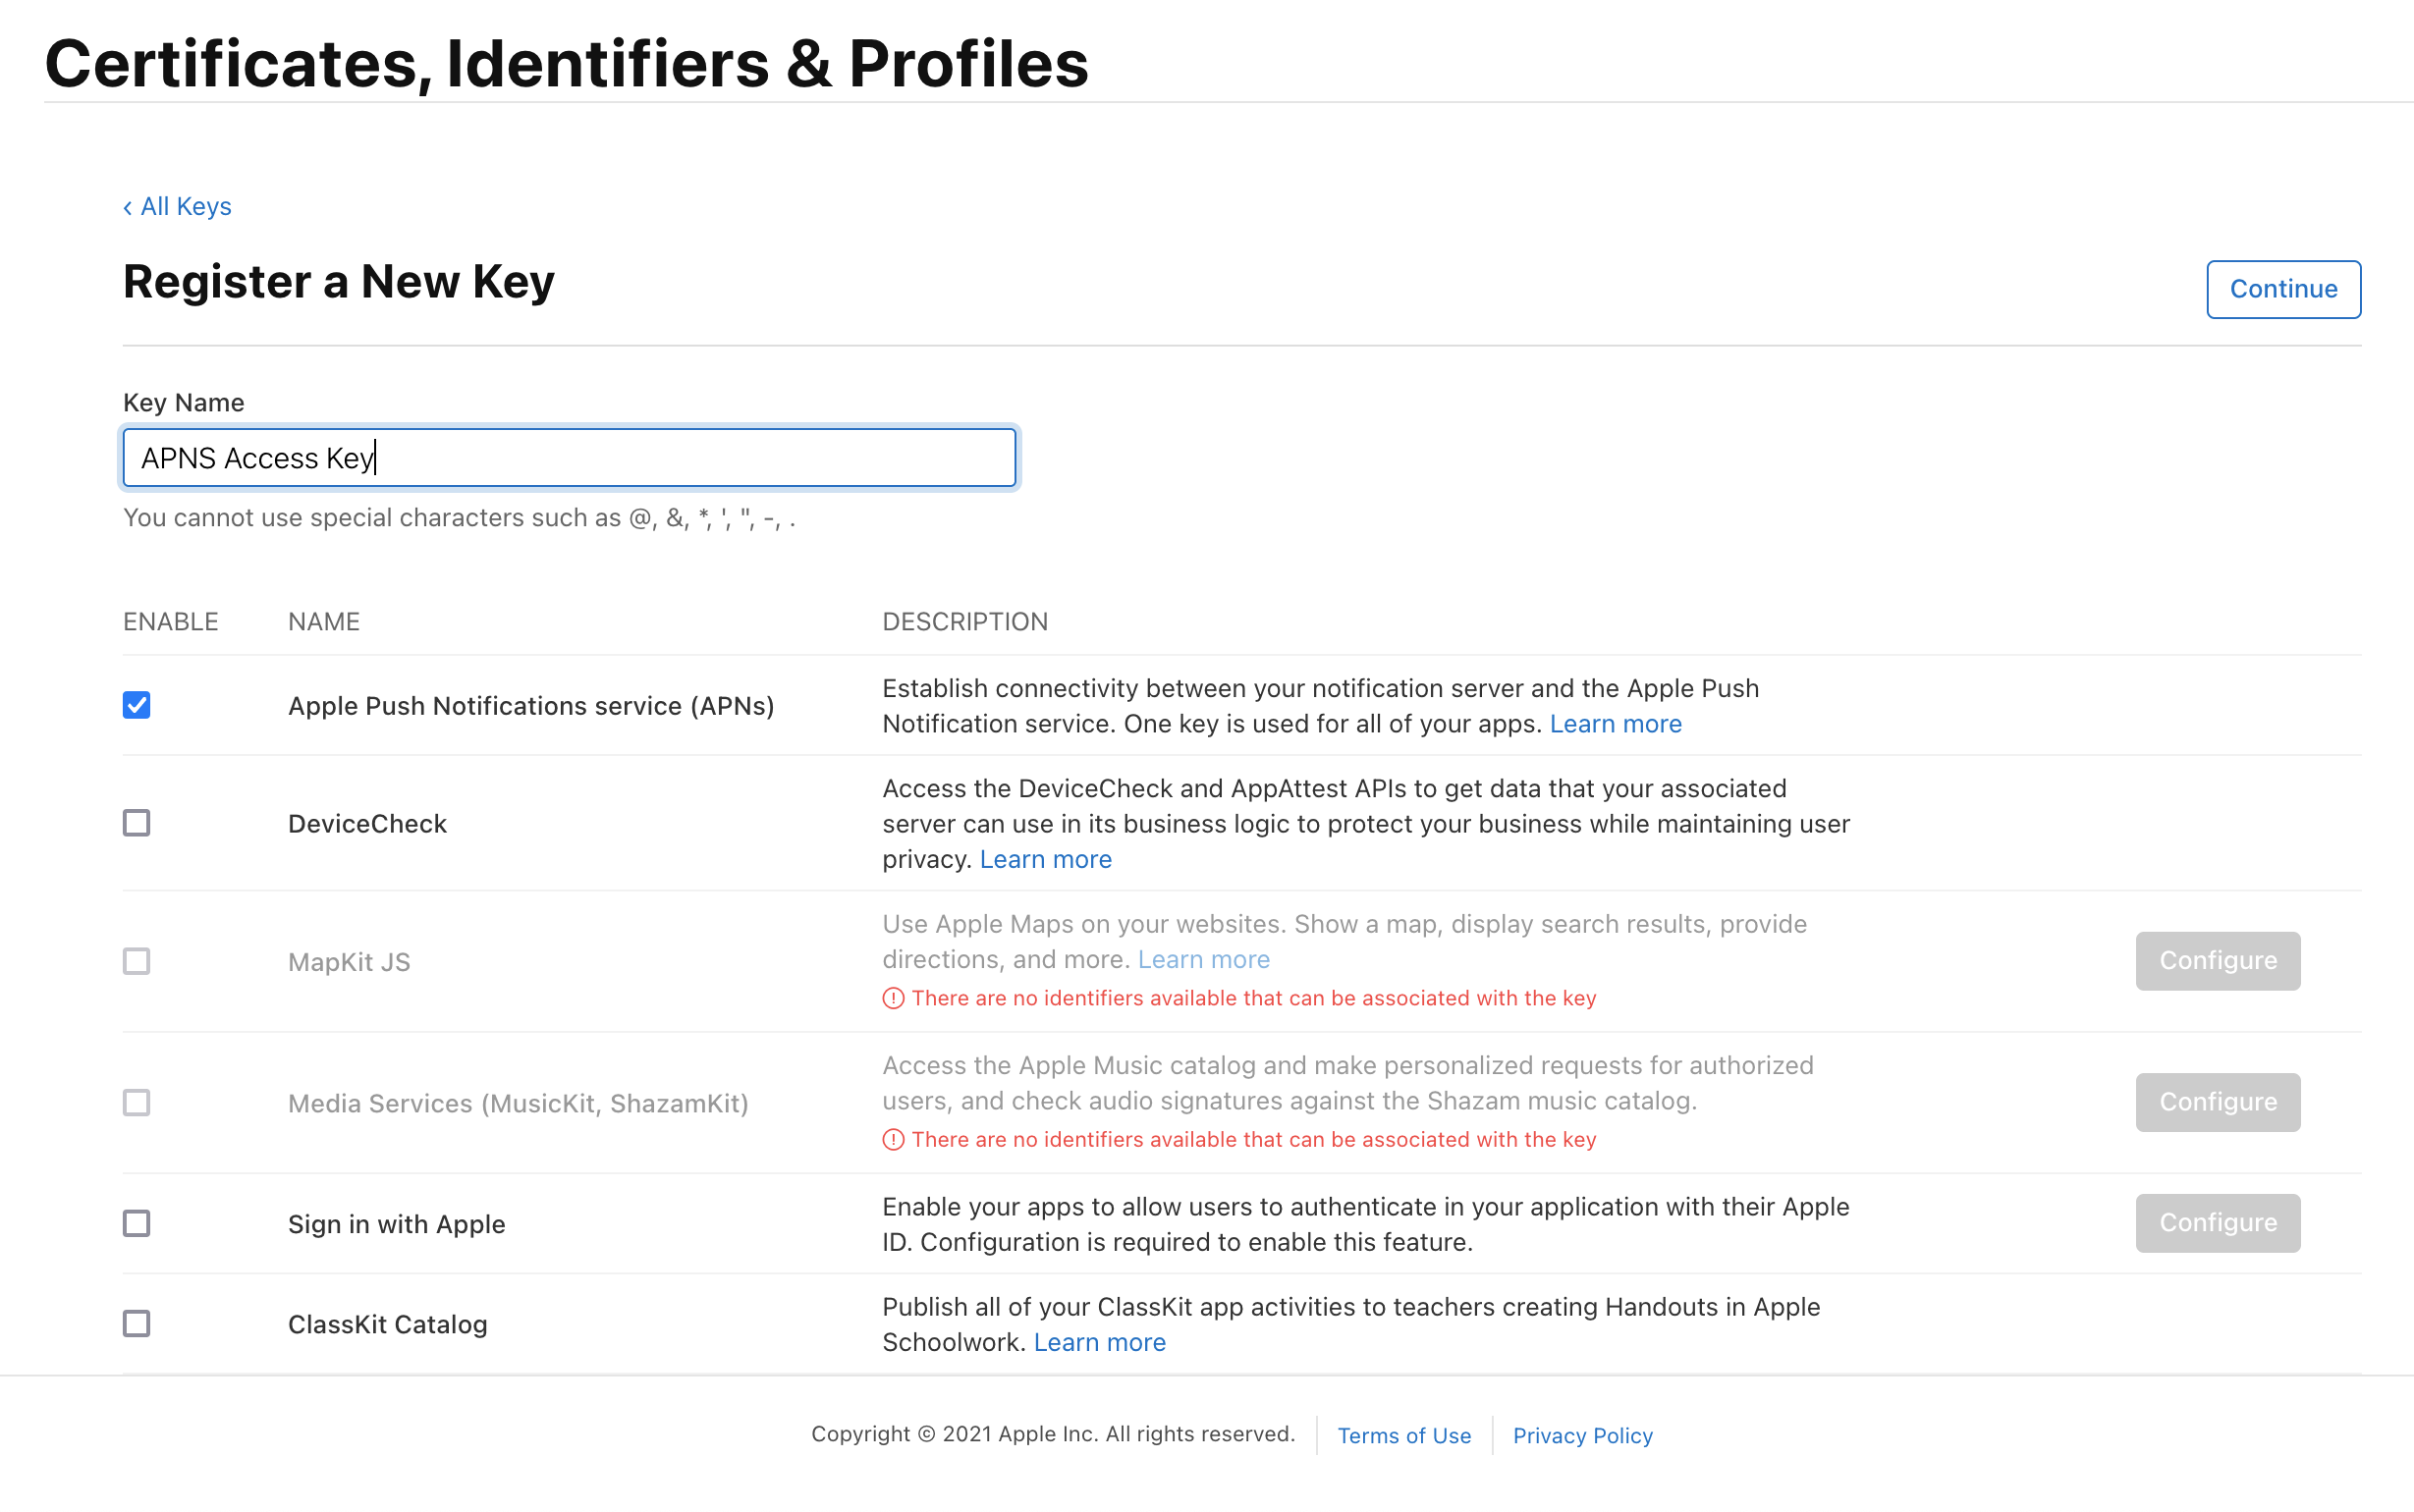
Select 'Create a Key' and on the form 'Register a New Key' enter a meaningful name such as 'APNS Access Key' and check the 'Enable' checkbox for 'Apple Push Notifications service (APNs)', click 'Continue'.
On the confirmation screen double check the APNs enablement is set then click 'Register'
On the final screen take note of your KeyID and download the key. Note that you can only download the key once, if lost the key must be revoked and re-created.
Downloading the key will save a .p8 file with the access credentials.
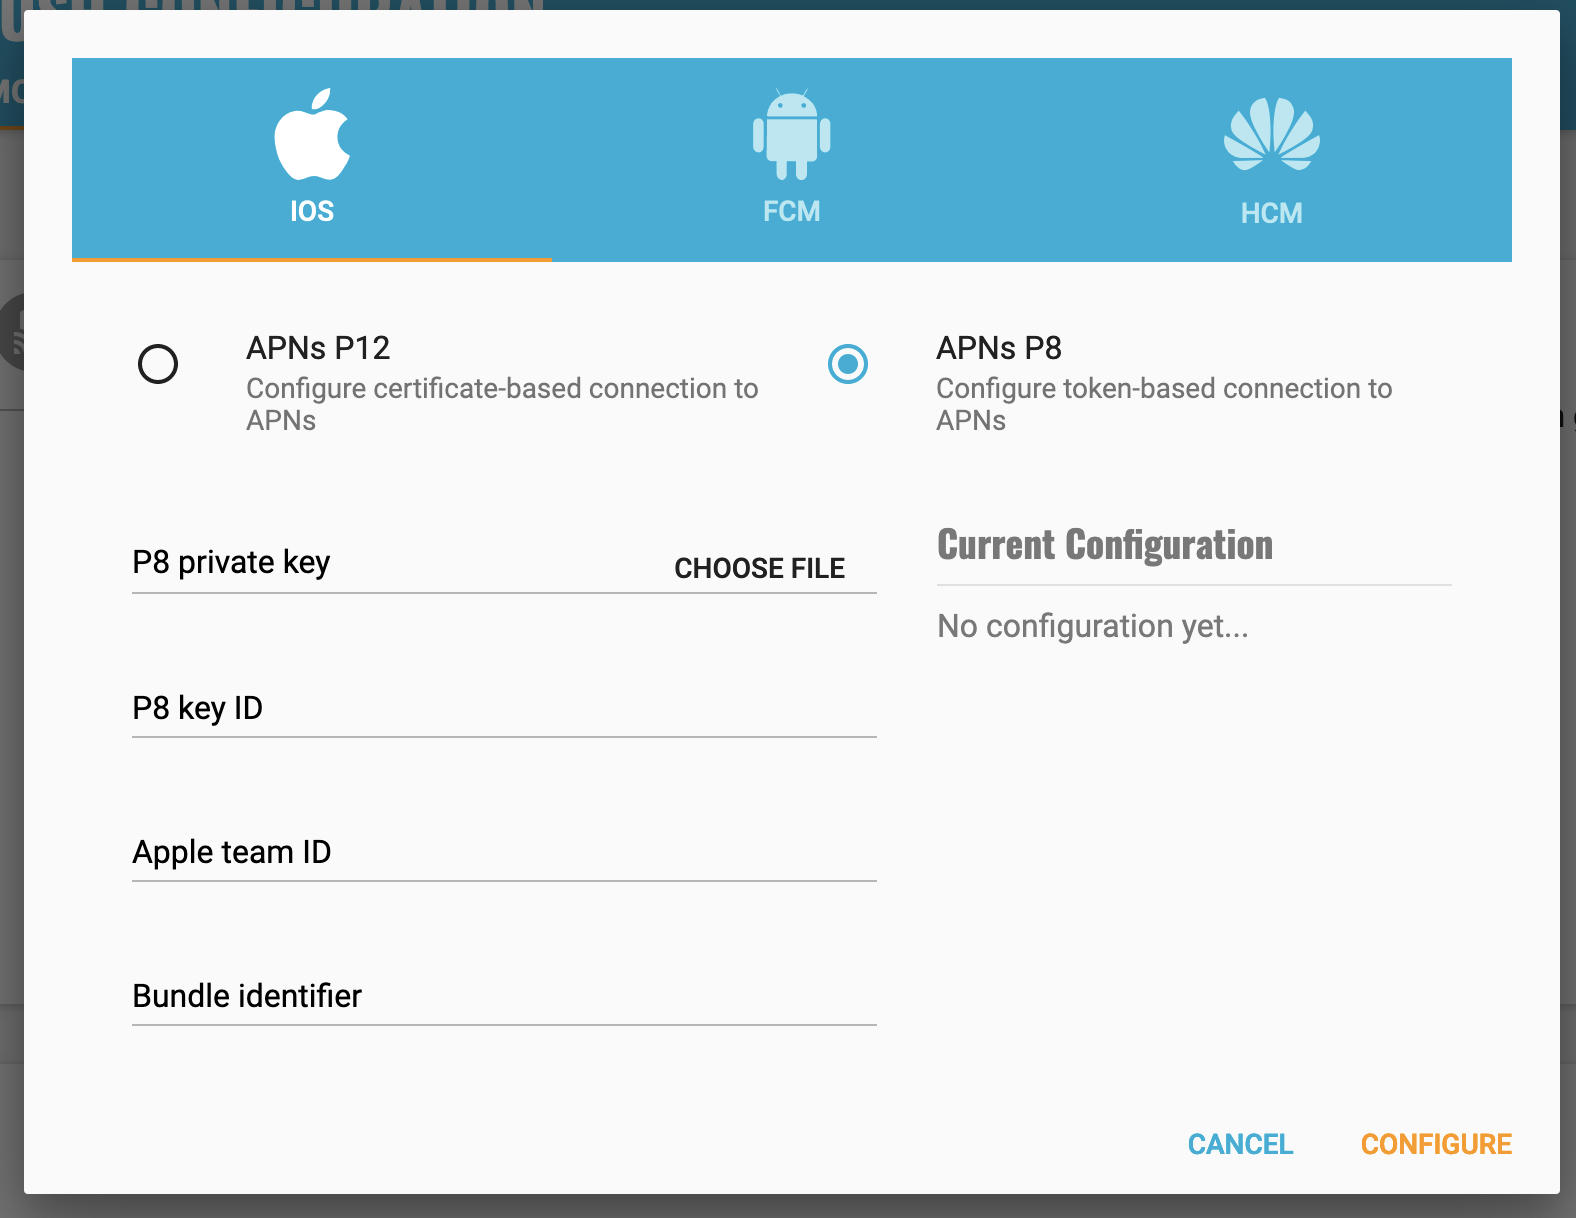
You now have all the details to configure your Kumulos App, expand 'Messaging' in the left menu, select 'Configuration' and click the cog next to the Apple icon. Select APNs P8 and select your file, enter your other details and click 'Configure'.
The video below shows how to create a push certificate on your Apple Developer portal, configure these certificates in Kumulos, and how to then configure the necessary entitlements in your iOS Xcode project.
Safari Configuration
To send web notifications to desktop Safari, you'll need to create a separate Website Push Identifier Certificate in the Apple Developer Member Center. Please see our Web SDK Integration Guide for full details of how to create this certificate.
Once you have this certificate, expand 'Messaging' in the left menu, select 'Configuration' and click the cog next to the Safari icon and upload your certificate along with your site URL and icon.
FCM Configuration
In order to enable push notifications for Android with Kumulos, you'll need to set up an FCM project and configure push for your app. These steps are shown in the following video guide.
Enabling Push Notifications for Android
Please note it is the Google Service Account private key JSON file that needs to be uploaded to Kumulos, not the Google Services JSON file you include in your app project. The Google Service Account JSON file can be generated from the 'Service Accounts' section of the Firebase Developer console as is shown in the relevant section of the video above.
HCM Configuration
The latest Huawei handsets such as the P40 family of phones do not use FCM for push notifications and instead use Huawei Cloud Messaging (HCM). If you want to message all of your Android users, including those using Huawei phones, then in addition to FCM you also need to configure HCM.
Configure a project on the Huawei Developer Console, and enable the Push feature by following the Push Kit developer guide step 1. Note that your app needs a valid signing configuration for both debug and release builds. The SHA-256 fingerprint of your signing key is required to match the Huawei app configuration prior to continuing.
Once you have created the app, configure the HCM gateway in Kumulos. Expand 'Messaging' in the left menu, select 'Configuration' and click the cog next to the Huawei icon. You will also need to enter the App ID and App Secret from the Huawei Developer Console.
When integrating an SDK, ensure you also complete the additional steps to add Huawei Mobile Services dependencies, files, plugins and manifest entries to your project.
Download and Integrate an SDK
You can now download the appropriate SDK(s) for your mobile app by selecting an SDK from the list at the bottom of the Configuration screen.

Follow the integration guide for that SDK to initialize the Kumulos client in your app project. Please note that you will need the API Key and Secret Key shown on the App Dashboard to do this.
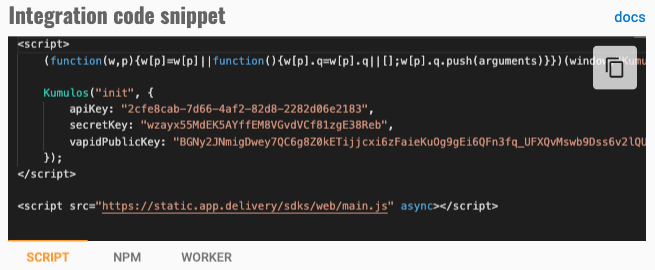
For web push notifications, you will need the Website & PWA SDK, which is distributed through a CDN or NPM. In addition to your API Key and Secret Key shown on the App Dashboard, you will also need the VAPID public key from the code snippets web push configuration dialog.
Please see the Website & PWA integration guide for more details.
Checking installs of your App
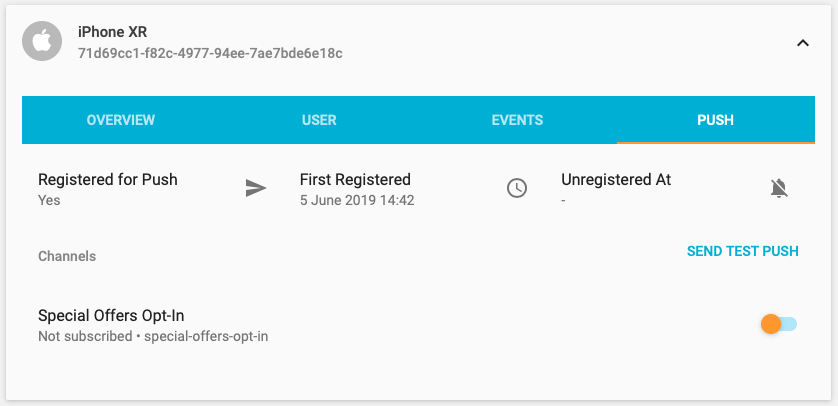
When you run your app on a simulator or install your app on a device, you can check that the SDK has been initialized correctly by selecting the app and clicking the Installs tab to see the ten most recent installs of your app. Click on an install, click the 'Push' tab and click Send Test Push.
If you do not receive the push notification, check the Error Log for any errors sending the push notification to the native push gateways. If you continue to experience problems, please don't hesitate to contact support who are standing by to help!
Reviewing your Configuration
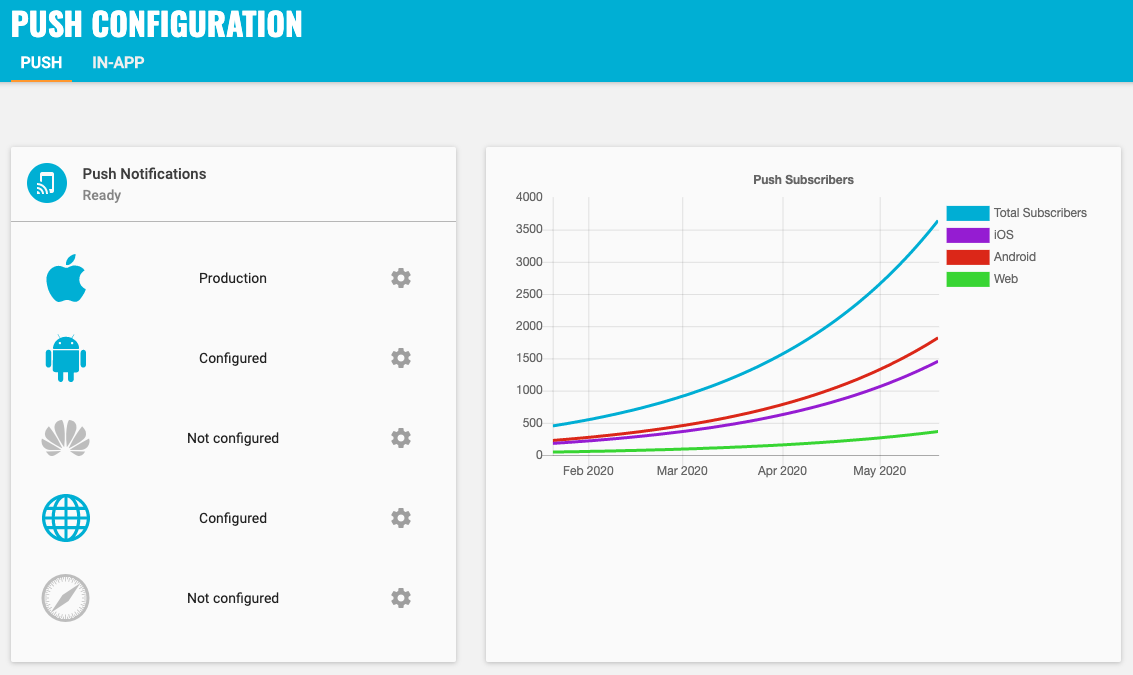
To review your messaging gateway configuration, expand 'Messaging' in the left menu and select 'Configuration'. This will show how many installs are subscribed to receive push notifications and how many and users have opted in to receive in-app messages, broken down by platform.
Viewing the Error Log
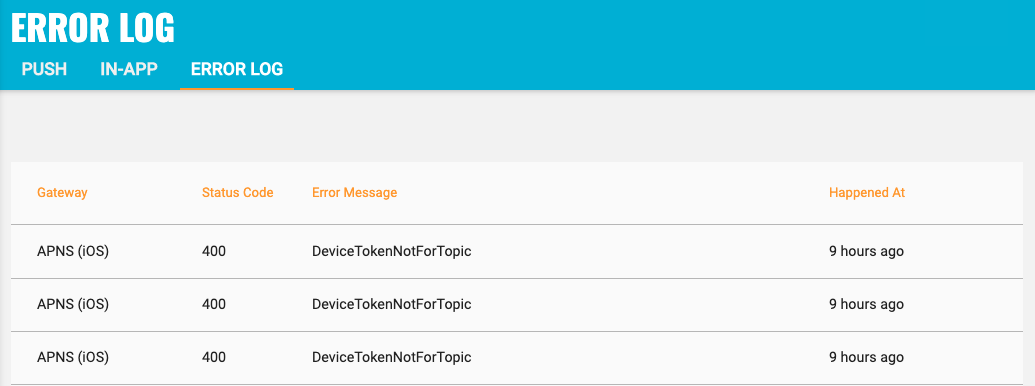
The Error Log will show any errors Kumulos has encountered sending push notifications to the native push gateways such as APNS or FCM. You can see the gateway where the error occurred, status code, the error message itself and when it happened. This can be help debug any problems.
If you cannot see the Error Log, you may need to update to the latest APNS/FCM APIs.
Common Errors
Here are some common errors along with details of how to resolve them. However, if you continue to experience any problems, please don't hesitate to contact support who are standing by to help!
Device Token not for Topic
The DeviceTokenNotForTopic error from APNS usually means that the bundle id in the APNS certificate uploaded to Kumulos is different from the bundle id in the push token received from the install that the push was to be sent to.
Please check that your APNS certificate is a Sandbox & Production certificate and that the bundle id matches that of your XCode project as shown in this video.
Firebase Cloud Messaging API has not been used in project.
This error can sometimes be received from FCM depending how old your Firebase project is and where in the Google developer console you enabled FCM. Click on the link shown alongside this error in the Kumulos Error Log to go to your Google developer console and enable the Firebase Cloud Messaging API.
Updating your Configuration
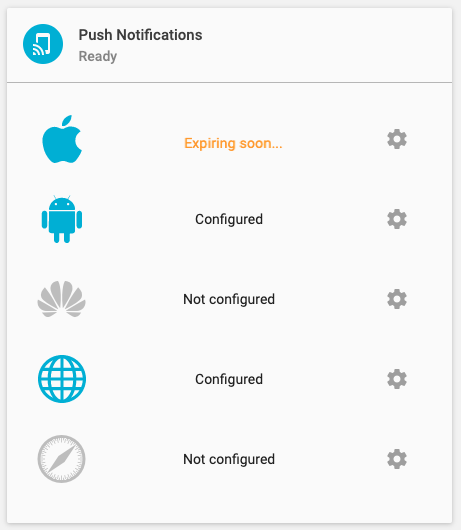
The 'Push Notifications' widget is where you can reconfigure the native push gateways. This will show an amber, warning alert if the push certificate for APNS is due to expire in under two weeks.
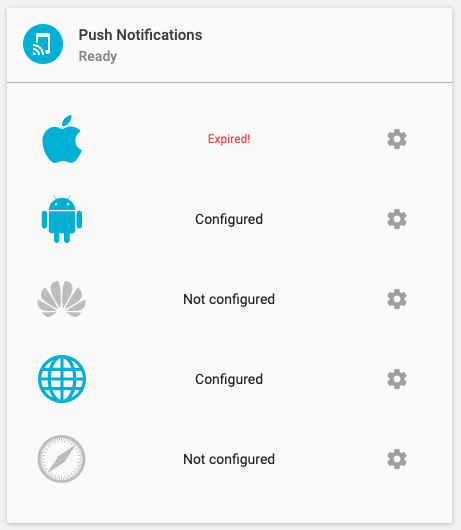
This will show a red critical alert if the certificate has expired! In other words, if you cannot now send notifications to your iOS app! These alerts will be reflected in the App Dashboard.
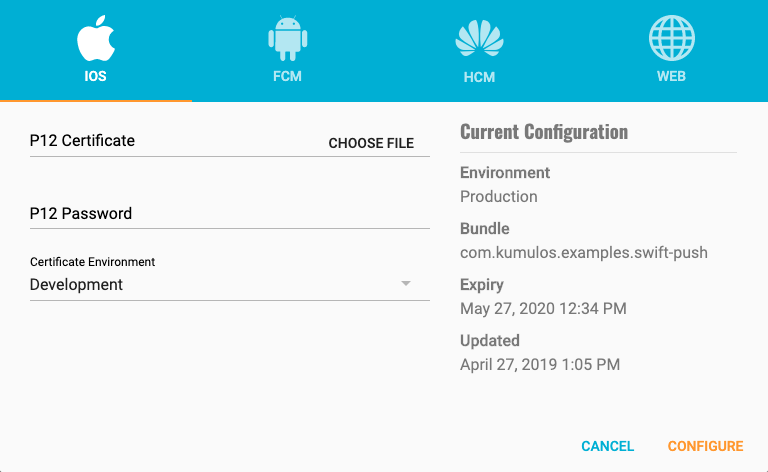
Click on the cog to see the expiry date of the certificate and upload a new one.
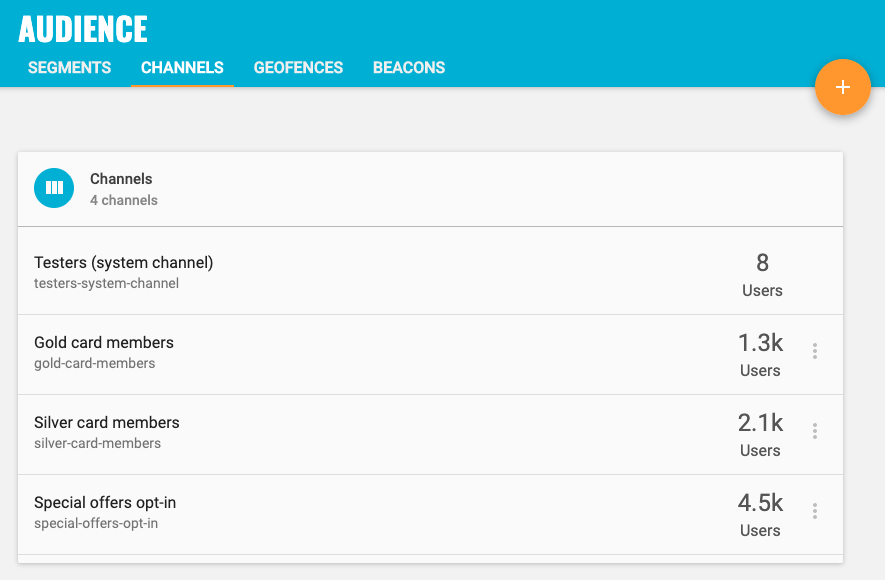
Add users to the Testers Channel
The Testers channel is a special channel that you can use to send test messages to internal users from your team or your client, before sending the message to your wider audience.
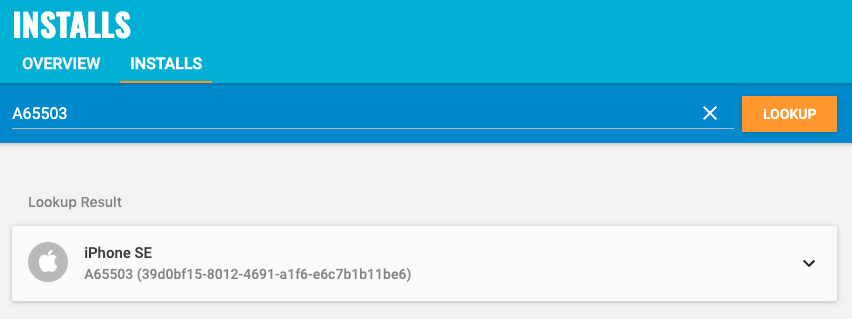
You can add users to the testers channel from the Install Explorer. Select the app and then click on the 'Installs' tab. This will show the most recent installs of your app (platform, device model, user identifier and install id). If you know your user identifier or install id, type this into the search box and click 'Lookup' to find your install.
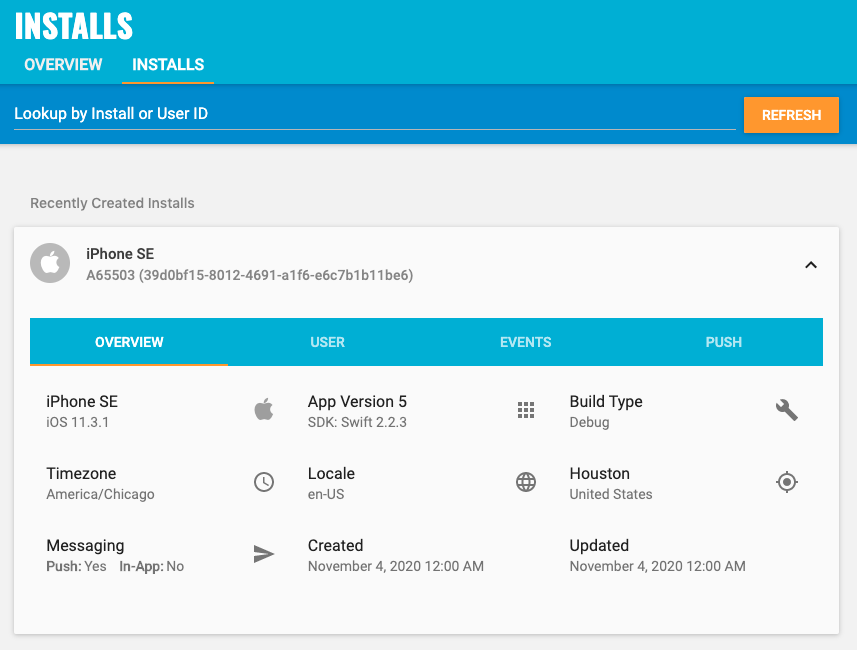
If you do not know your user identifier or install id, then simply uninstall and reinstall the app on your phone - this will create a new install. Once you have done this, click the 'Refresh' button and your install should be listed at the top. Expand the details to verify it is your device (model, location, timezone etc).
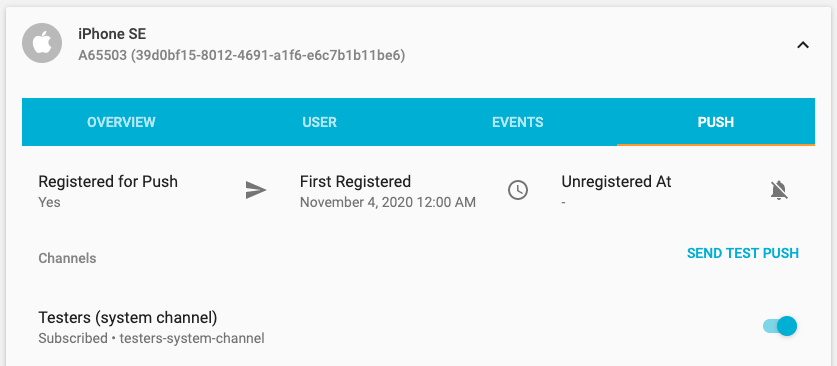
Once you have found your install, click on the 'Push' tab and toggle the switch next to the 'Testers (System Channel)' to subscribe add yourself to the channel. You can also send a test push to verify this indeed your device.
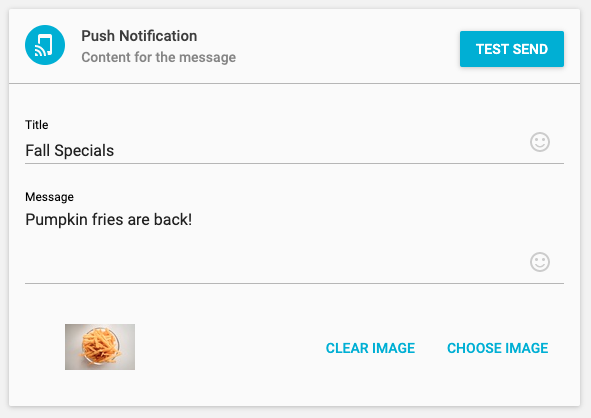
Now, whenever you are planning a new campaign, you can use the 'Test Send' button to send the push notification or in-app message everyone in the Testers channel, to see how the message will appear on your own device, before sending to your audience.
--
That's it - you're all set to start sending notifications to your subscribers! Please check our user guide to learn about your messaging dashboard, how to use segments, channels, geofences and beacons to target your audience, how to send push notifications and in-app messages and how to create automation rules to automatically send notifications on a trigger such as a device entering or exiting a geofence.