Overview
Within your agency console, you can upload files (proposals, specifications, designs, assets, test plans, prototype builds and more) and save links (Invision clickable prototypes, Trello boards Google Drive and Store listings etc) relating to a client or app project.
If you have enabled the client portal, you can automatically notify your clients when a new file has been uploaded or link has been shared with them. They can collaborate with you by uploading logos and brand guidelines etc.
This provides a convenient way for your team and your client to store, locate and access all of the resources relating to an app project.
Accessing shared files
Files and links can be stored against a client (for example: SLAs) and an individual app.
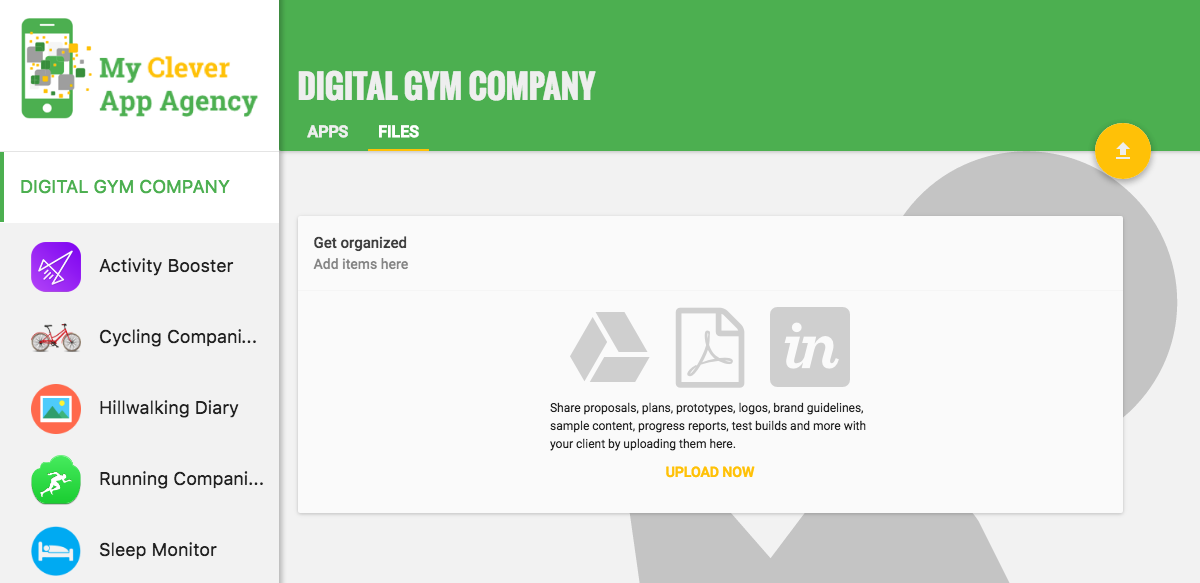
Client files and links
To access files and links stored against a client, from your agency console, click on that client and then from the client dashboard for that client, click on Files. Your client can access files and links in the same way from their client portal.
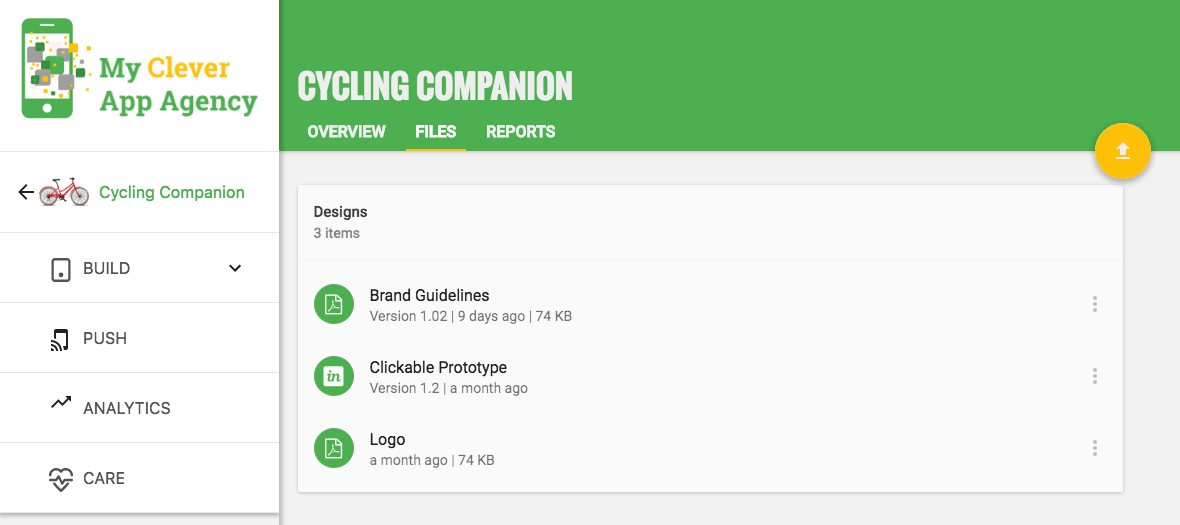
App files and links
To access files and links stored against an app, click on that app and then from the app dashboard for that app, click on Files. Again, your client can access these files and links in the same way from their client portal.
Adding a file or link
To upload a file or share a link, click on the primary upload action button. A new dialog will now open. Don't forget to click Save once you have entered all of the required information.
Title
Give the file or link an appropriate, descriptive title, meaningful to both your team and your client.
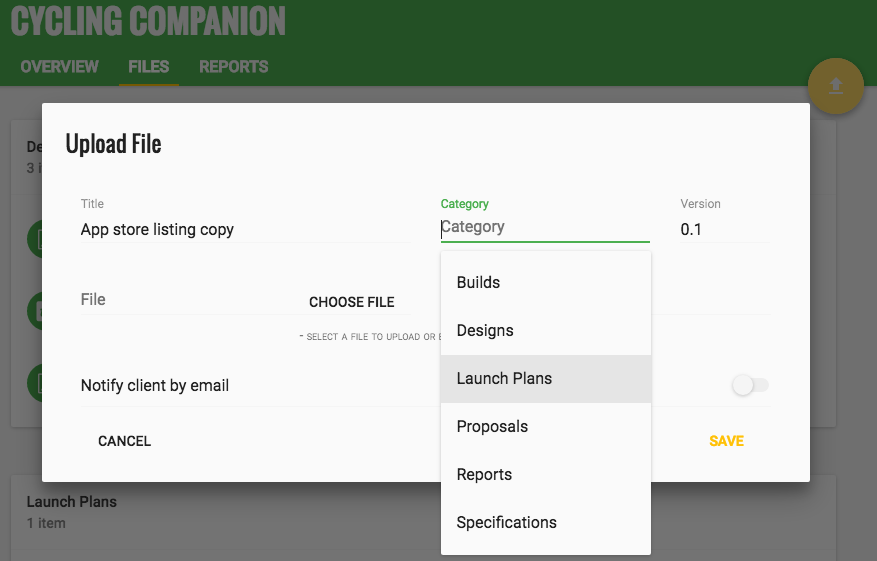
Category
Files and links are grouped into categories. When uploading a file or sharing a link, you can select in which category the file or link should reside. You can select (or type-ahead and choose) one of the pre-defined categories or type in a new category if required. Note that only those categories that actually have files or links in them, will be shown in the Files tab.
Version (optional)
You can optionally give your file or link a version number. This allows you to upload multiple versions of the same file. However, note that this is for your own (and your client's) reference only - concurrent sequencing is not enforced.
Upload a file
To upload a file, click on Choose File and then browse to the file you wish to upload.
Share a link
Alternatively, to share a link to a document online or a website or service, simply paste the link into the Link box.
Note that each file can be a file you have uploaded or a link you have shared, but not both. However, there is no limit on the number of files you can upload or links you can share.
Notify client
If you have enabled the client portal for your client, you can notify anyone at the client whom you have invited by email when a new file has been uploaded or link has been shared with them.
Simply click Notify client by email, select the users at the client you wish to notify and then type in an appropriate message.
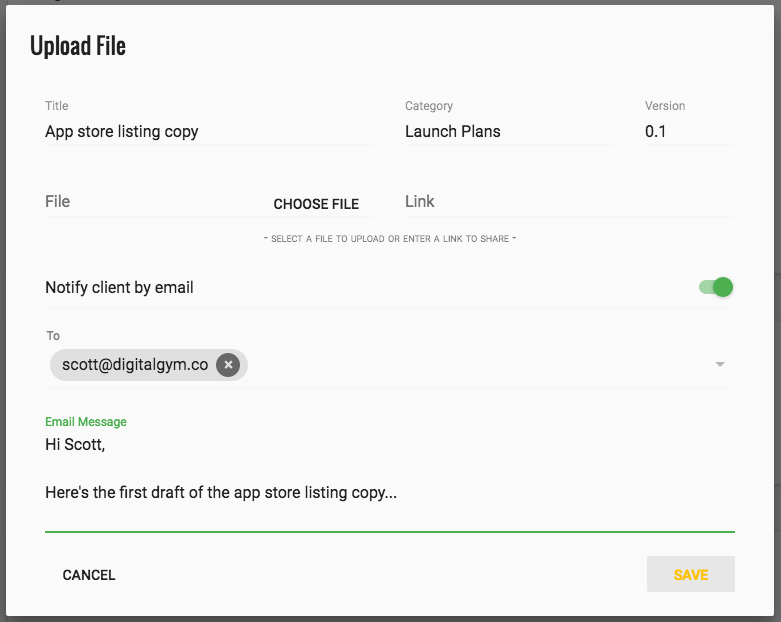
When you click Save, an email will then be sent to the client with your message and a link to the document in their client portal, that they can then click on to access the file or link.
Soon, you'll receive a notification when the client downloads the file or views the link!
Viewing a file or link
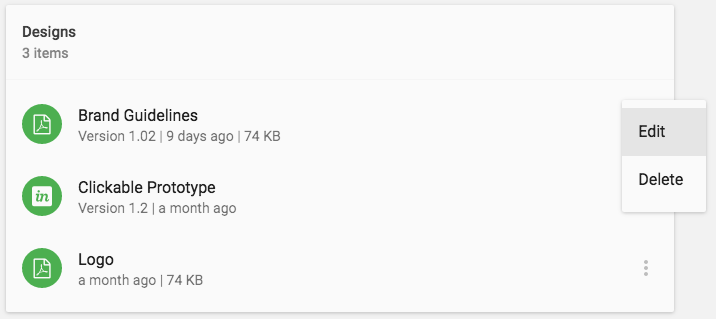
Files and links are grouped in categories, with categories listed in alphabetical order. Only those categories that have files or links in them will be shown. Within each category, files and links are listed in reverse chronological order (i.e. most recent files and links are shown at the top).
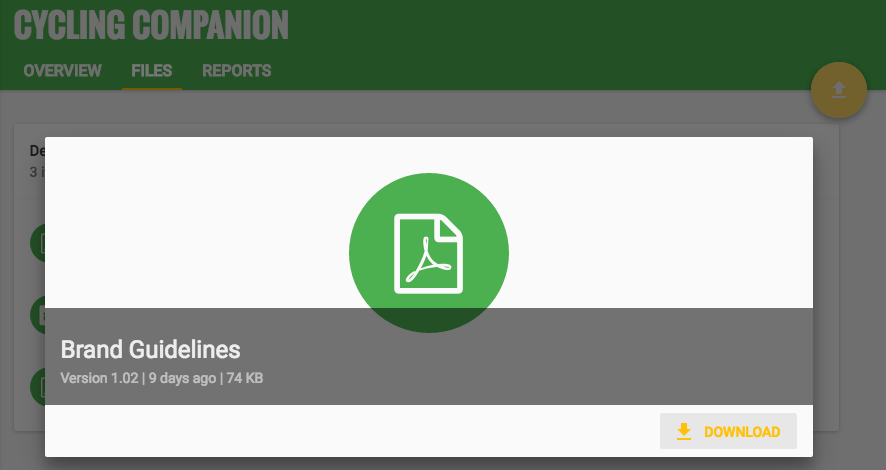
Downloading a file
To download a file, simply click on the file and then select Download which will download the file to your computer.
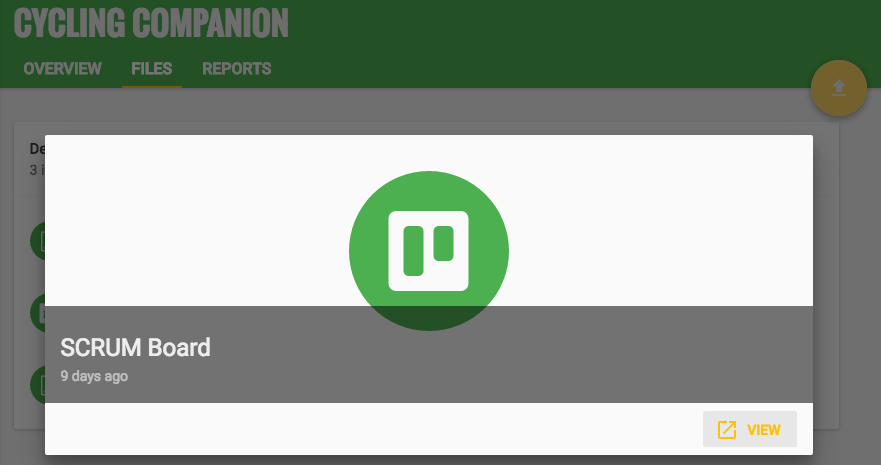
Viewing a link
To view a link, simply click on the link and then select View which will open the link in a new tab.
Editing a file or link
To change any of the information you have entered about a file or link, including uploading a new file or changing the link, then from the context menu next to that file or link, select Edit
You can then change any of the details you entered for that file or link. You can also upload a new file by clicking Choose File again, or you can leave this blank to keep the existing file.
Removing a file or link
To remove a file or link, then from the context menu next to that file or link, select Delete and then click OK when asked for confirmation
